lAZARUS STATION
sOLO pROJECT uNREAL ENGINE 5 BLOCKout
Lazarus station
RESPONSIBILITIES:
Designed layouts of the entire map.
Modeled and built the map in UE5, including small scale props, architecture details and pieces, and tram.
Implemented AI, gameplay, asset packs for gameplay. Designed telekinesis system, objectives and modified enemies for different types and for mini boss/boss.
SOFTWARE USED: UE5, Blueprints, Block mesh, UE5 modeling tool, Illustrator, Splines.
ASSET PACKS USED: Advanced Survival Horror, 4k blood pack, nebula sky box, dying breath death poses. This can all be found on FAB
Design Intentions :
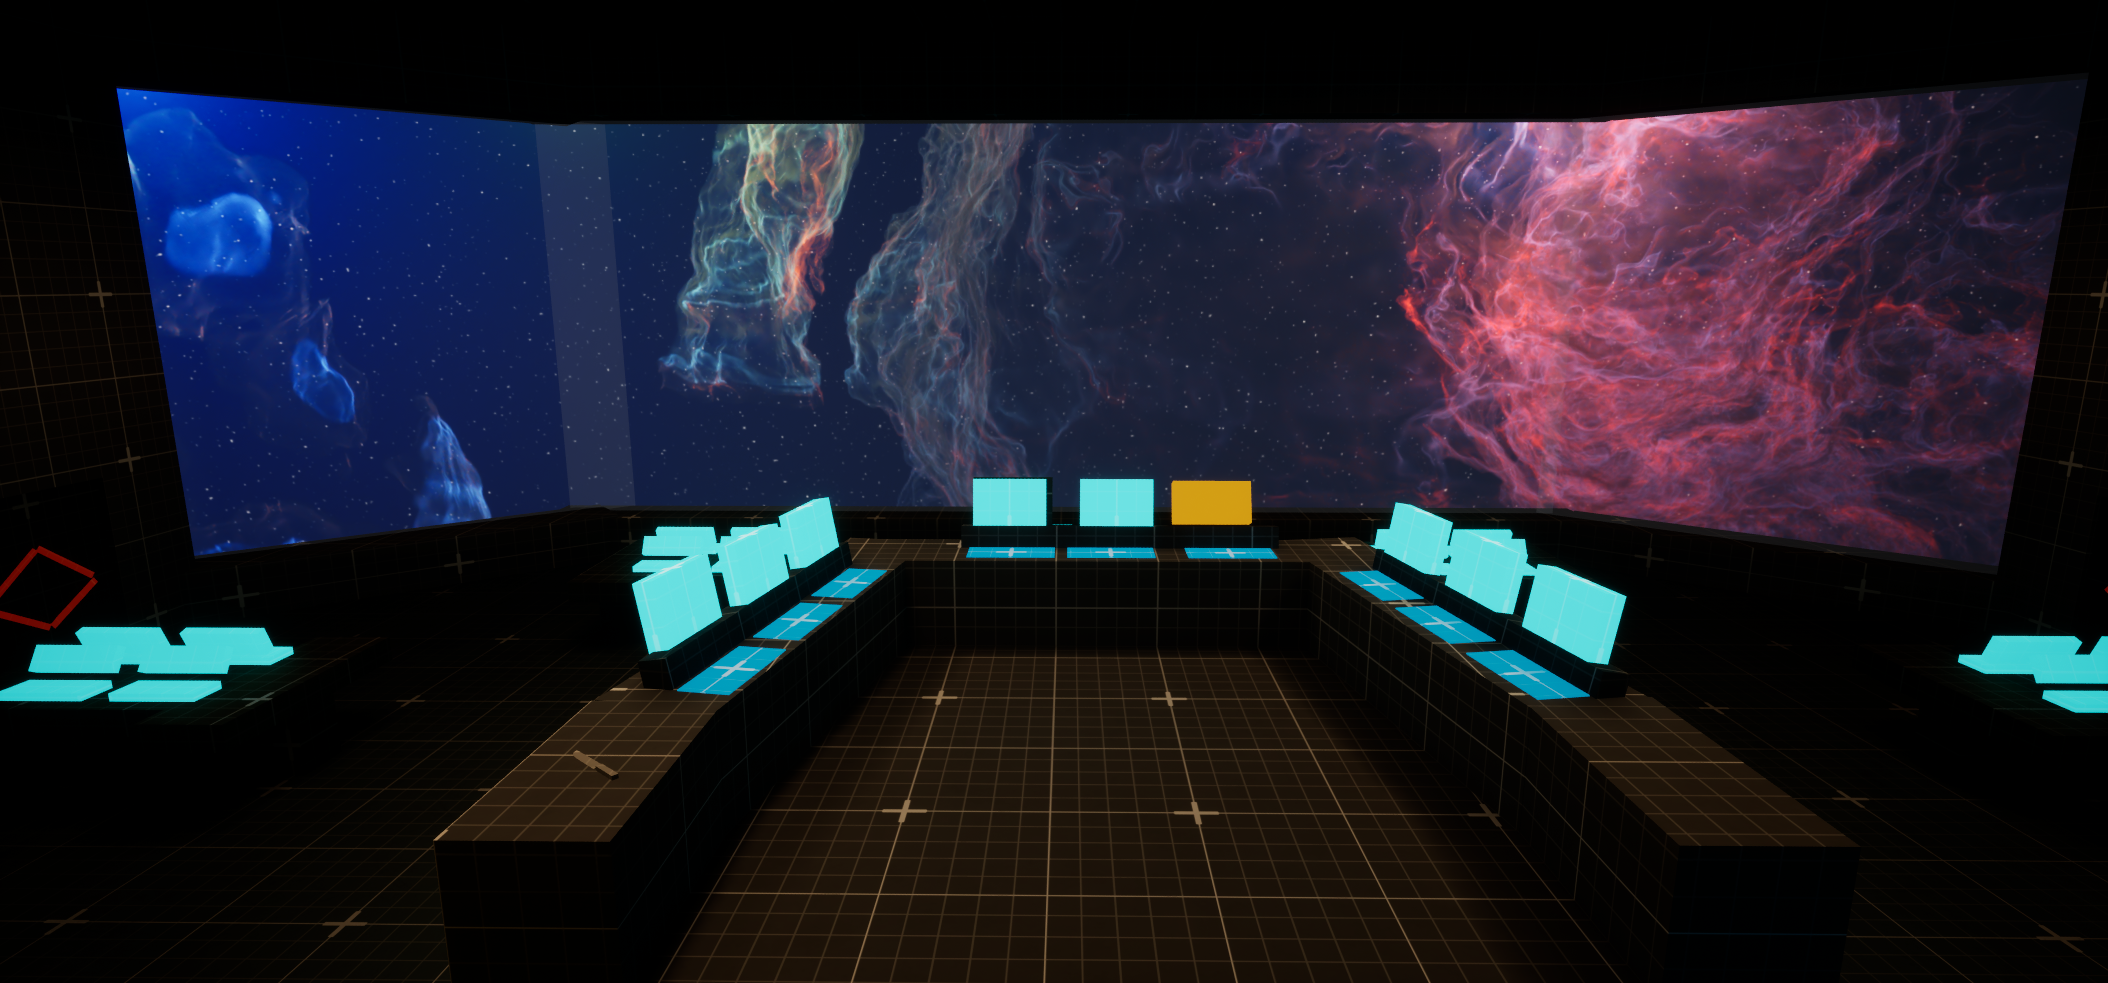
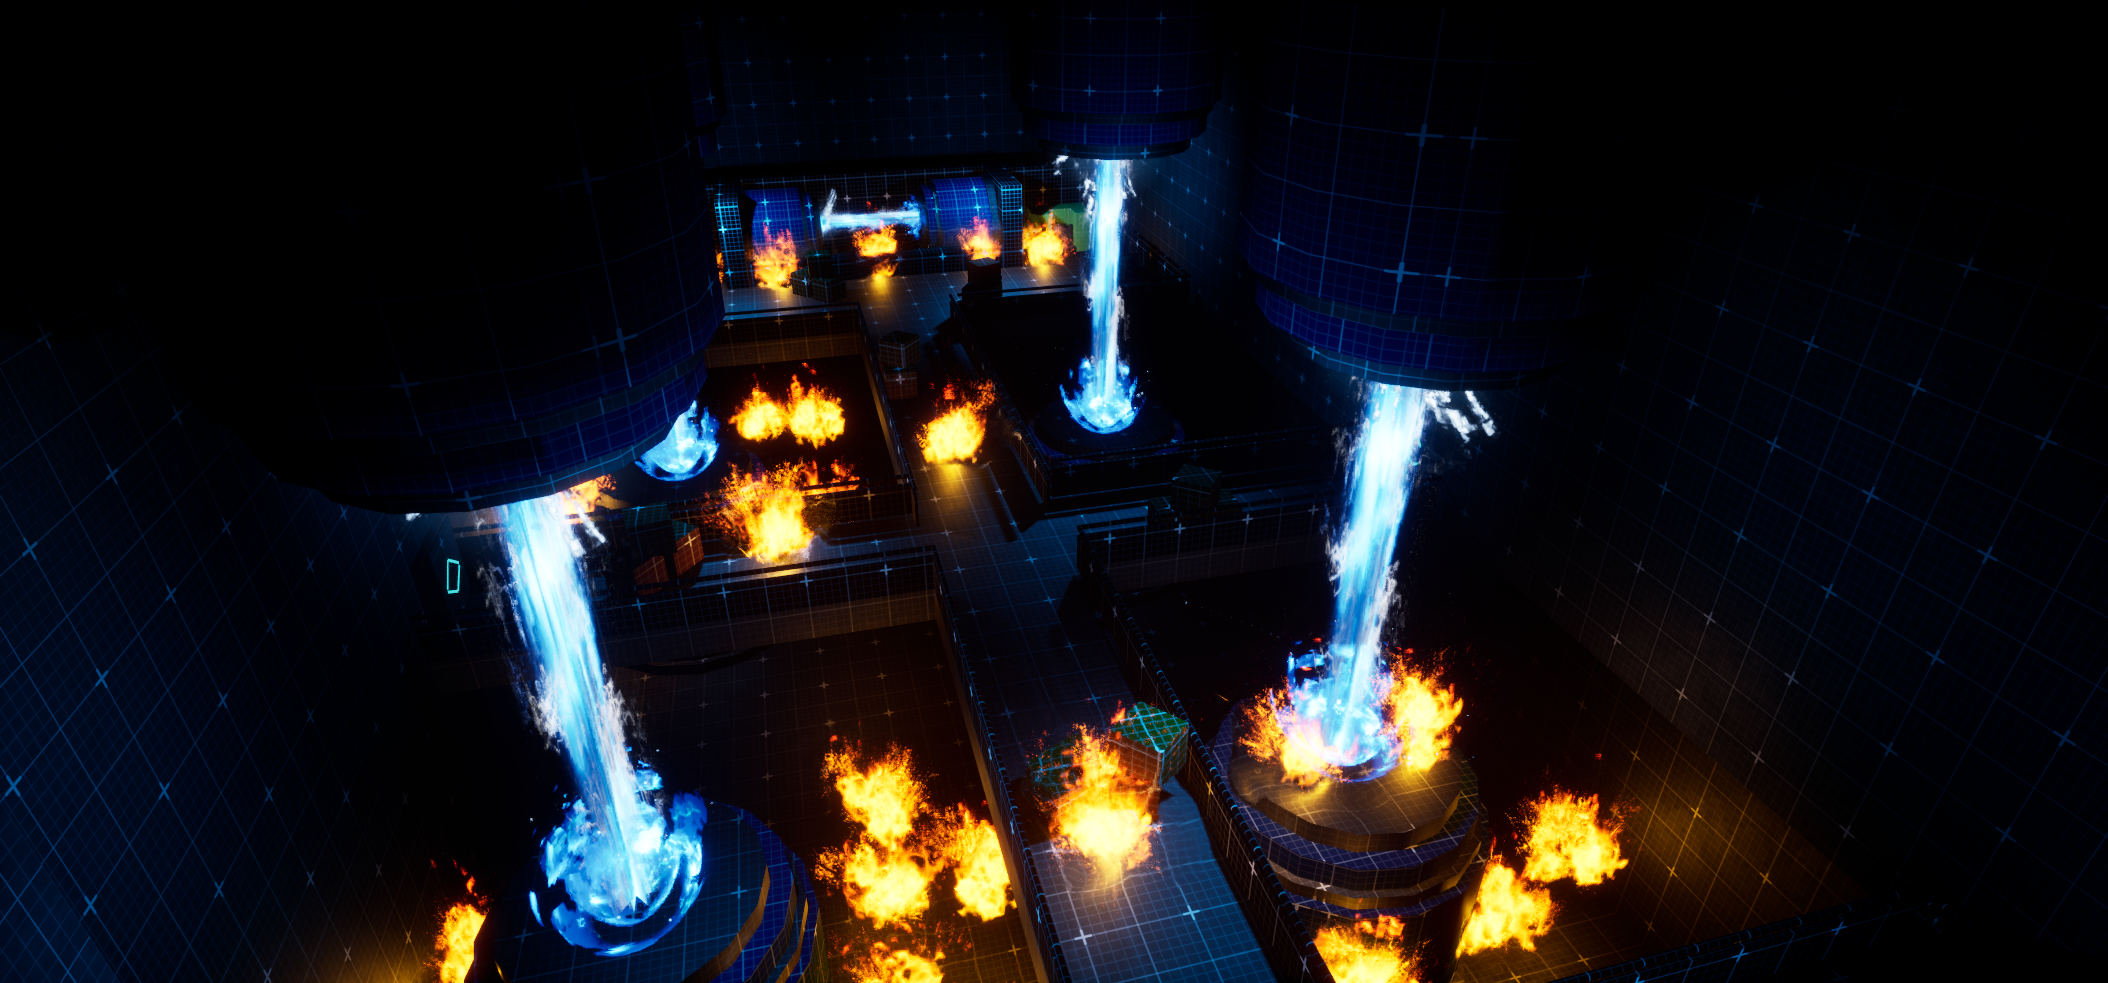
Design a intense an immersive survival horror experience.
Design spaces that utilizes both environmental combat and traditional combat capabilities.
Improve scripting skills by modifying existing scripts to work with new ones and creating new scripts.
Build a complete level with a start, middle, and end.
Create combat encounters that provide room for different approaches to use the weapons and tools the player is provided with.
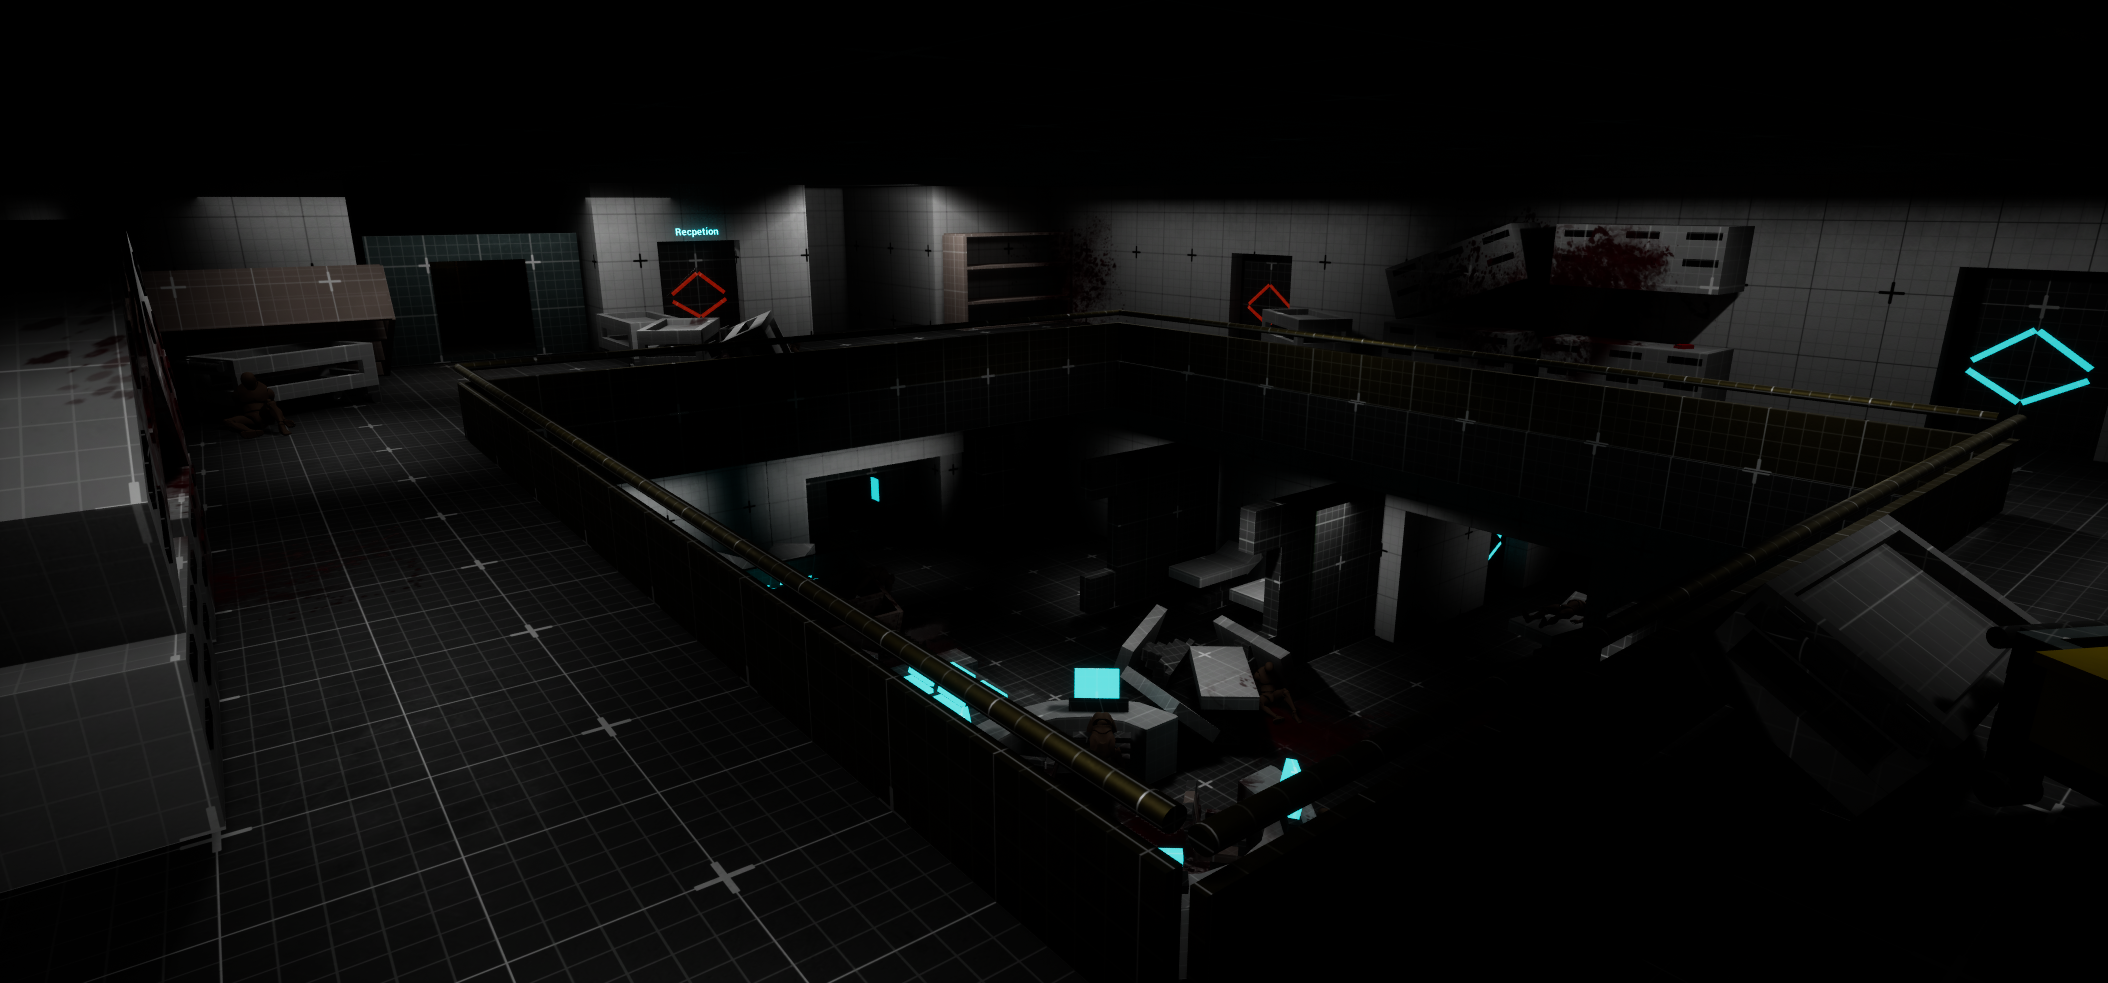
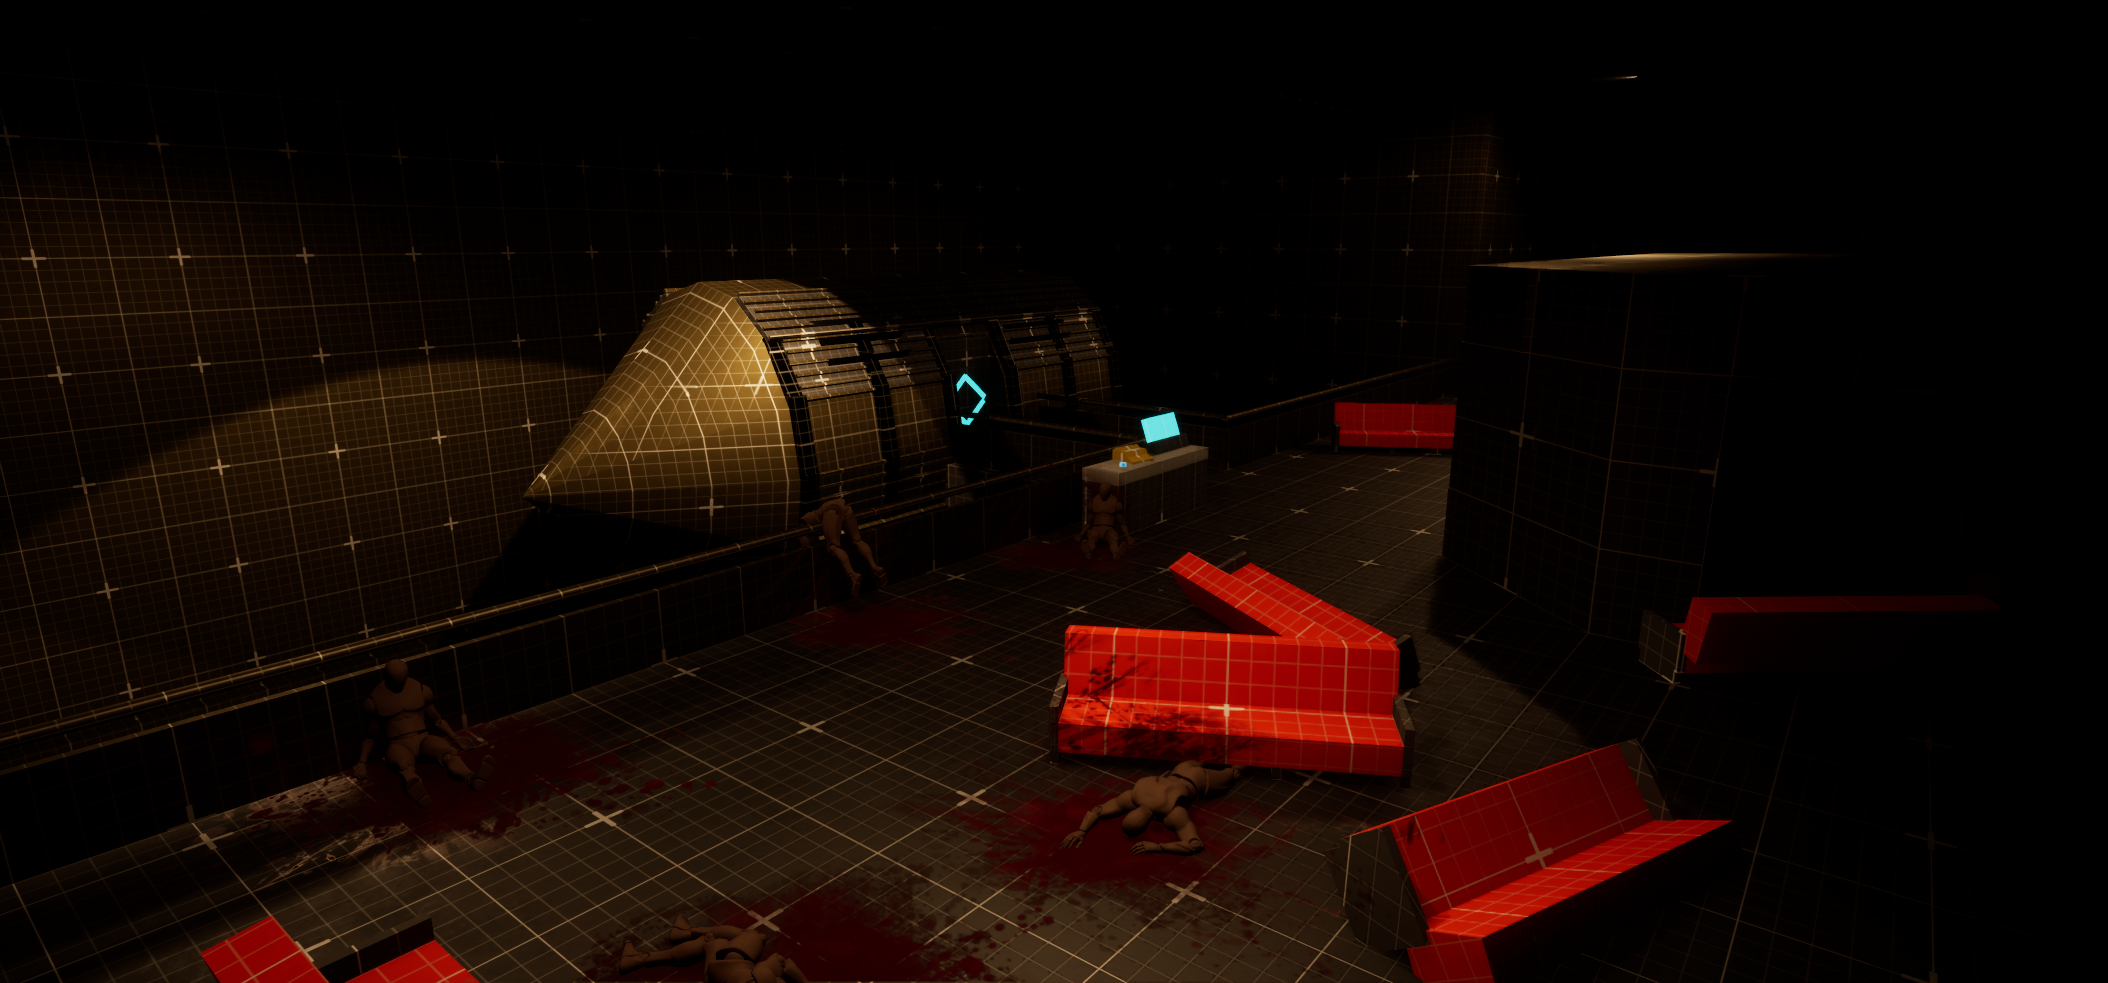
Full Walkthrough
2d level Map
Design Process
I start with planning using a miro board. Here I write down my ideas and organize the level flow and story beats. I also include my 2d map and gather references for the areas and objects I plan to create and put in my level.
Step 1: Overview, Miro board, and references
Miro Board
Step 2: First 2D map and putting the ideas together
My next step was to hop into illustrator and start creating a 2d map of what I wanted the map for my level to look like. This is the original map that changed drastically as I created the level in engine. After running through different setting ideas of how I want the layout and flow of each area to connect from one to another and the tram route through the station I ended up deciding on this as my initial 2d map and lay out. While I concluded on this as a start I was thinking of “wow” and “scare” moments and how the player will use not just traditional combat but also environmental through the telekinesis system I made in each space.
Initial questions
How will this space feel to the player?
How can I combine telekinesis and traditional combat elements in these spaces?
Is there too much back tracking?
How can I keep the player on edge and scared?
Step 3: Metrics gym and modeling out props
Metrics gym
The metrics gym helped inform my level metrics through having a playground to test guns, height and width measurements, and combat. Using these areas I made helped with the flow of creating my level as I didnt have to test the height or width of certain objects/props or enemy health/ gun damage.
Shooting range to test guns.
Simple combat room to test enemies and weapons.
Height and width metrics
Modeled props
Next was modeling out all the props I planned to use for my level from big things like the tram to small things like desks and shelves.
All props modeled in Unreal Engine 5 modeling tool
Step 4: Creating the in house gameplay mechanics
Power System
I created a power system that uses a pressure plate and when a power core is placed on it a power cable will fill up with electricity and once its fully filled power on a given actor or script.
Able to be used to activate anything from doors, sequencers, enemy spawning, etc.
Power on and off event made via Blueprint interface
made it an array to be able to activate multiple things
Power System Blueprints
Pressure plate Blueprint
Power Cable Blueprint
Power Core Blueprint
Telekinesis System
I created a telekinesis system where the player can pick up and throw certain environmental objects placed throughout the level.
Able to be used to be able to pick up the power cores
Able to be thrown at enemies to deal damage by impaling them with the object
Creates different combat choices allowing the player to utilize more than just the weapons provided
Telekinesis System Blueprints
Telekinesis Blueprint
Damage to enemy Blueprint
Step 5 Combat
Traditional combat vs Traditional + Environmental Combat
Traditional Gun only combat
Simple gun play like traditional survival horrors
Player only has to manage and think about the resources they have on hand
Limits gameplay and combat interactions to just guns
Simple resource management seen in survival horror
Analyzing the environment isn’t as encouraged or crucial to combat
Traditional Gun and Environmental throwables combat
More complex combat with not just gun play but also using objects in the environment
Retains the simple gun play like traditional survival horrors while adding another layer to the combat
Player not only has to manage and think about the resources they have on hand but now also those provided by the environment
Player is encouraged to analyze the environment more to utilize objects against enemies
Adds another layer to the resource management mechanic of survival horrors
Expands combat beyond just guns
Makes analyzing the environment more crucial when in combat
Step 6 Mini boss/ Boss
I created both a mini boss and final boss for my level. Each uses a system where they have spores attached to their body (like the eyes in Resident evil boss fights). For the mini boss the spores help take a chunk out of his health while the final boss once all the spores are popped the boss will die.
Mini Boss
Has two spores that act as crit points the player can pop
Popped spores will lower the mini boss’s health
When both spores are popped the player will have to continue fighting to finish off the mini boss’s remaining health
Mini boss added code functionality to its blueprint
Final Boss
Has three spores that act as major crit points the player can pop
Popped spores will lower the mini boss’s health
When all spores are popped the Boss will be defeated and die
If the player doesn’t land spore shots their damage to the boss will still lower its overall health but popping all three spores is how the player needs to defeat the Boss
Final boss added code functionality to its blueprint
Step 7 Frequent Iterations
Throughout designing my level I made frequent iterations to multiple spaces. The overall issues I ran into with these spaces was that they felt roughly the same, lacked real purpose and/or functionality.
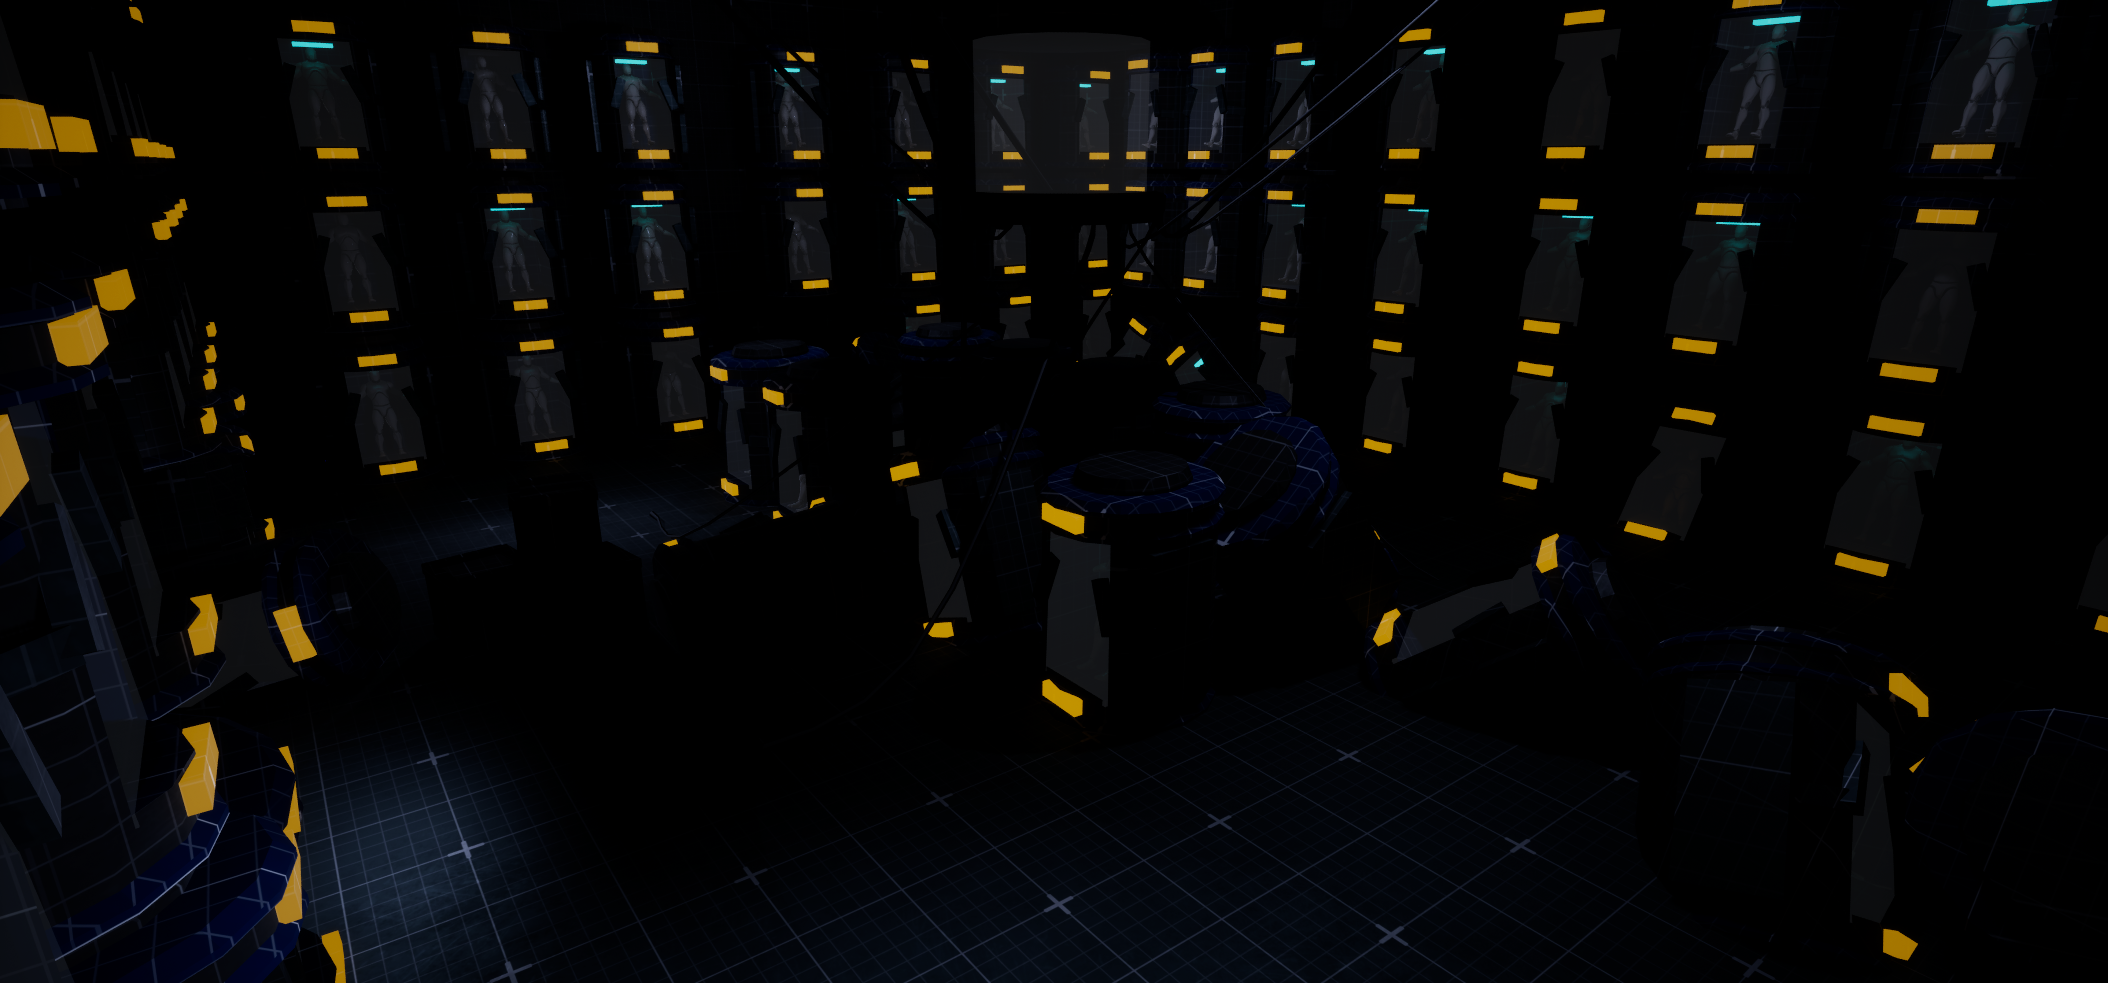
First Iteration
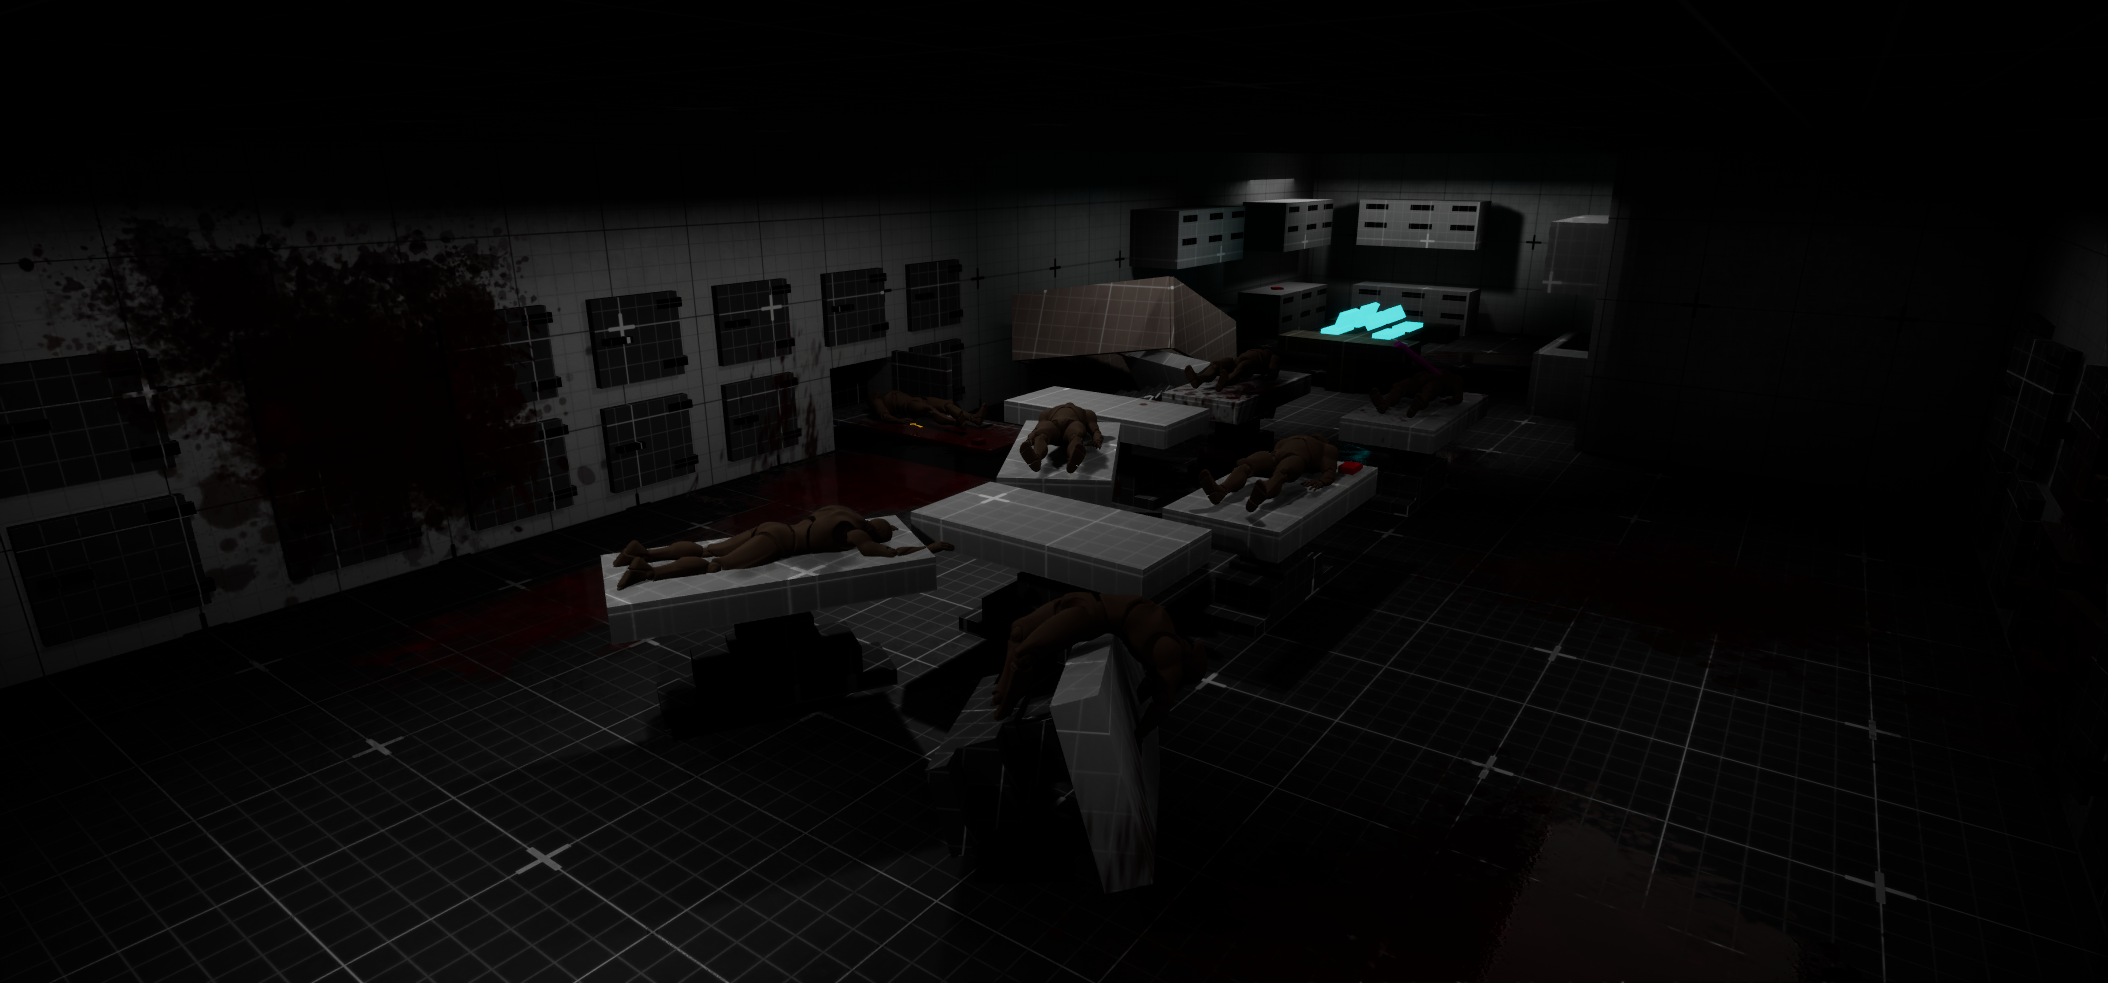
Medical wing iterations
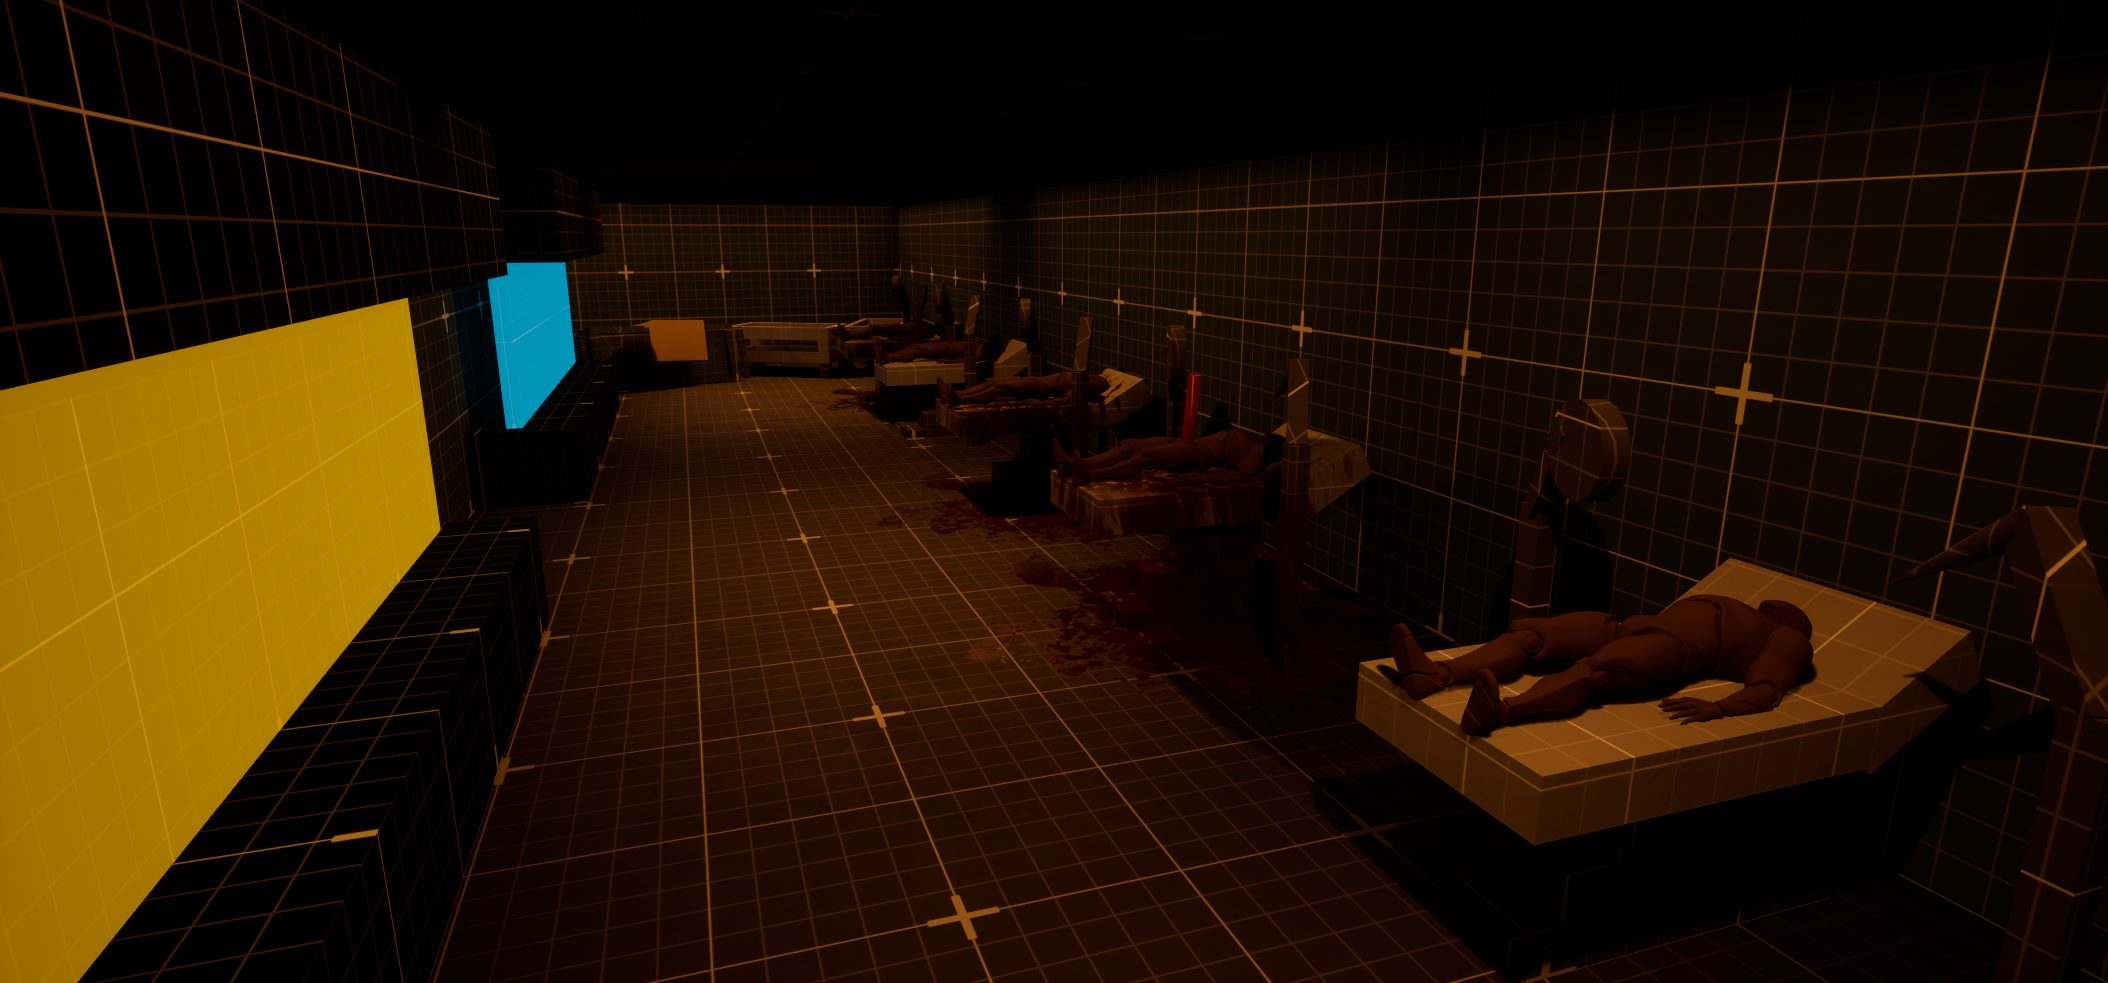
Was a generic room
Lacked function or purpose
Felt out of place
Didn’t read well and created uncertainty of what it really was
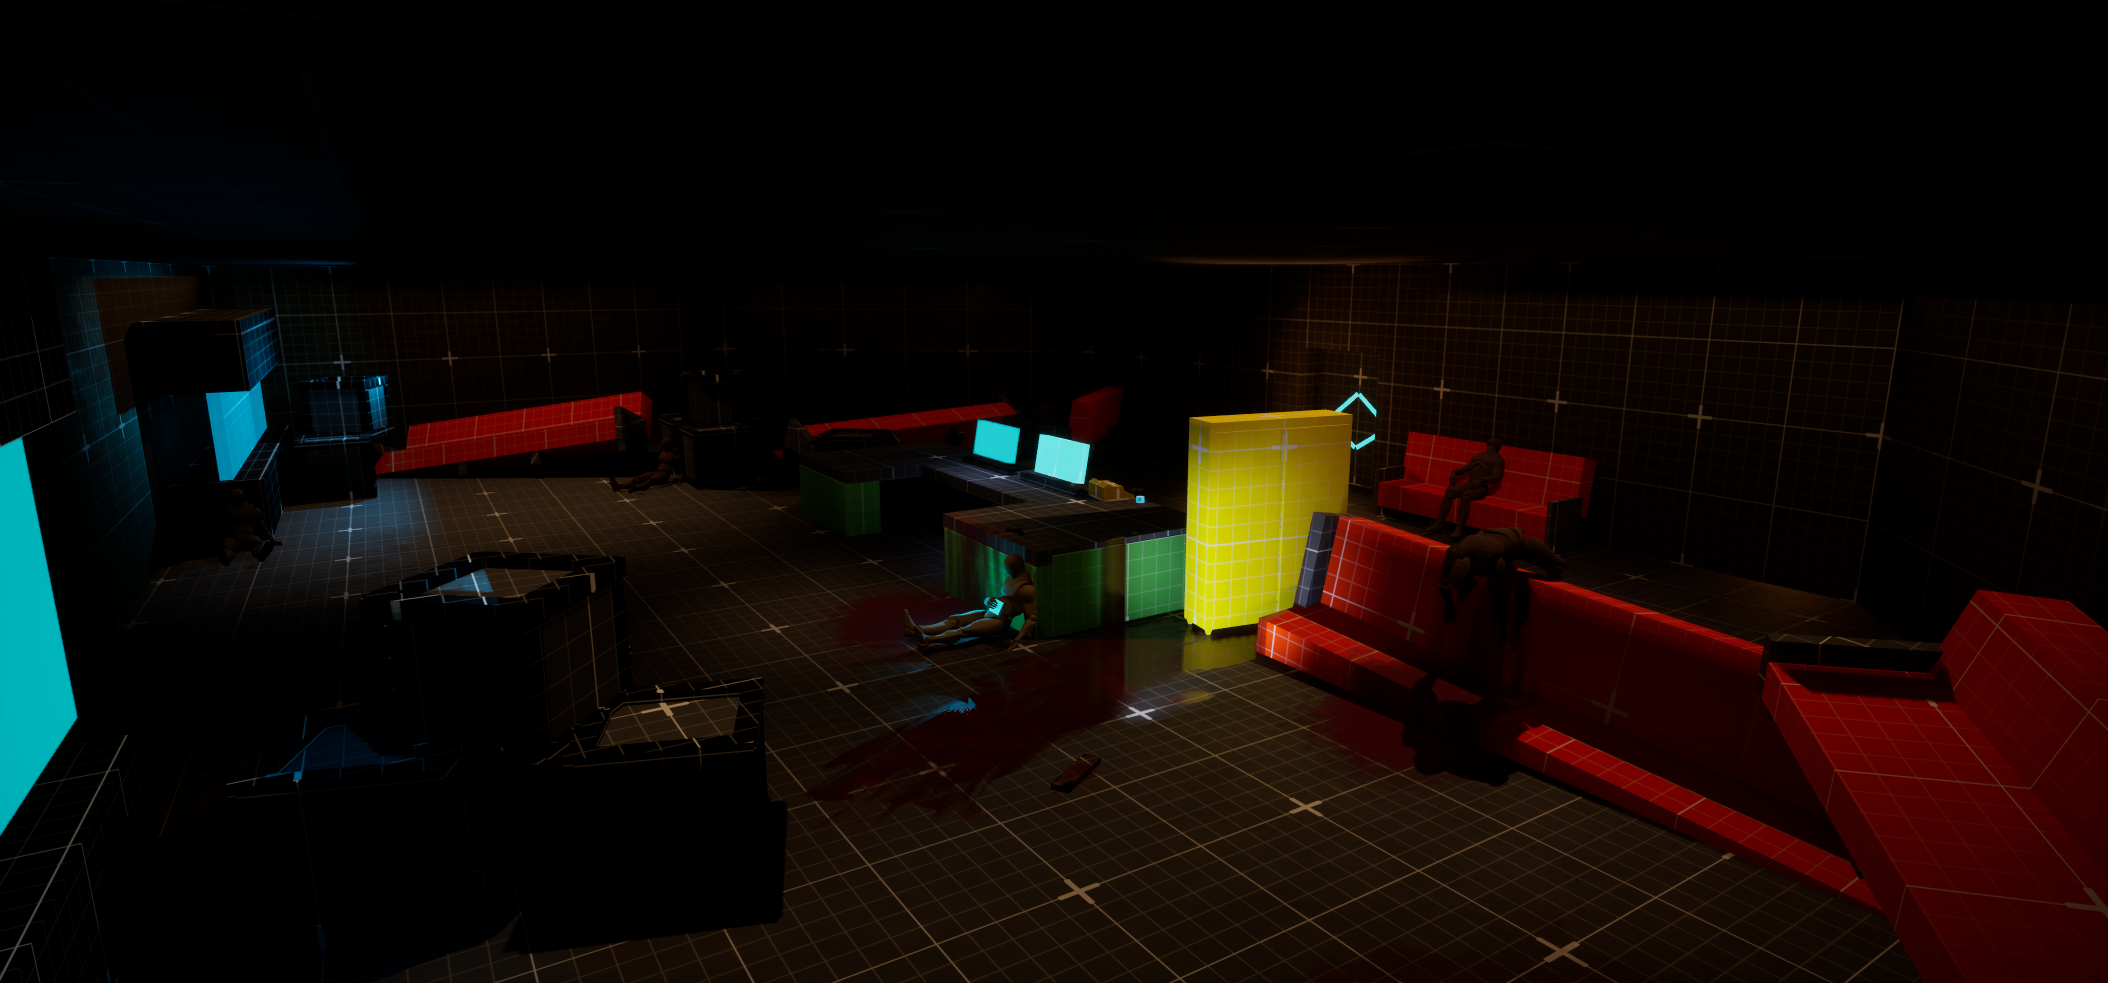
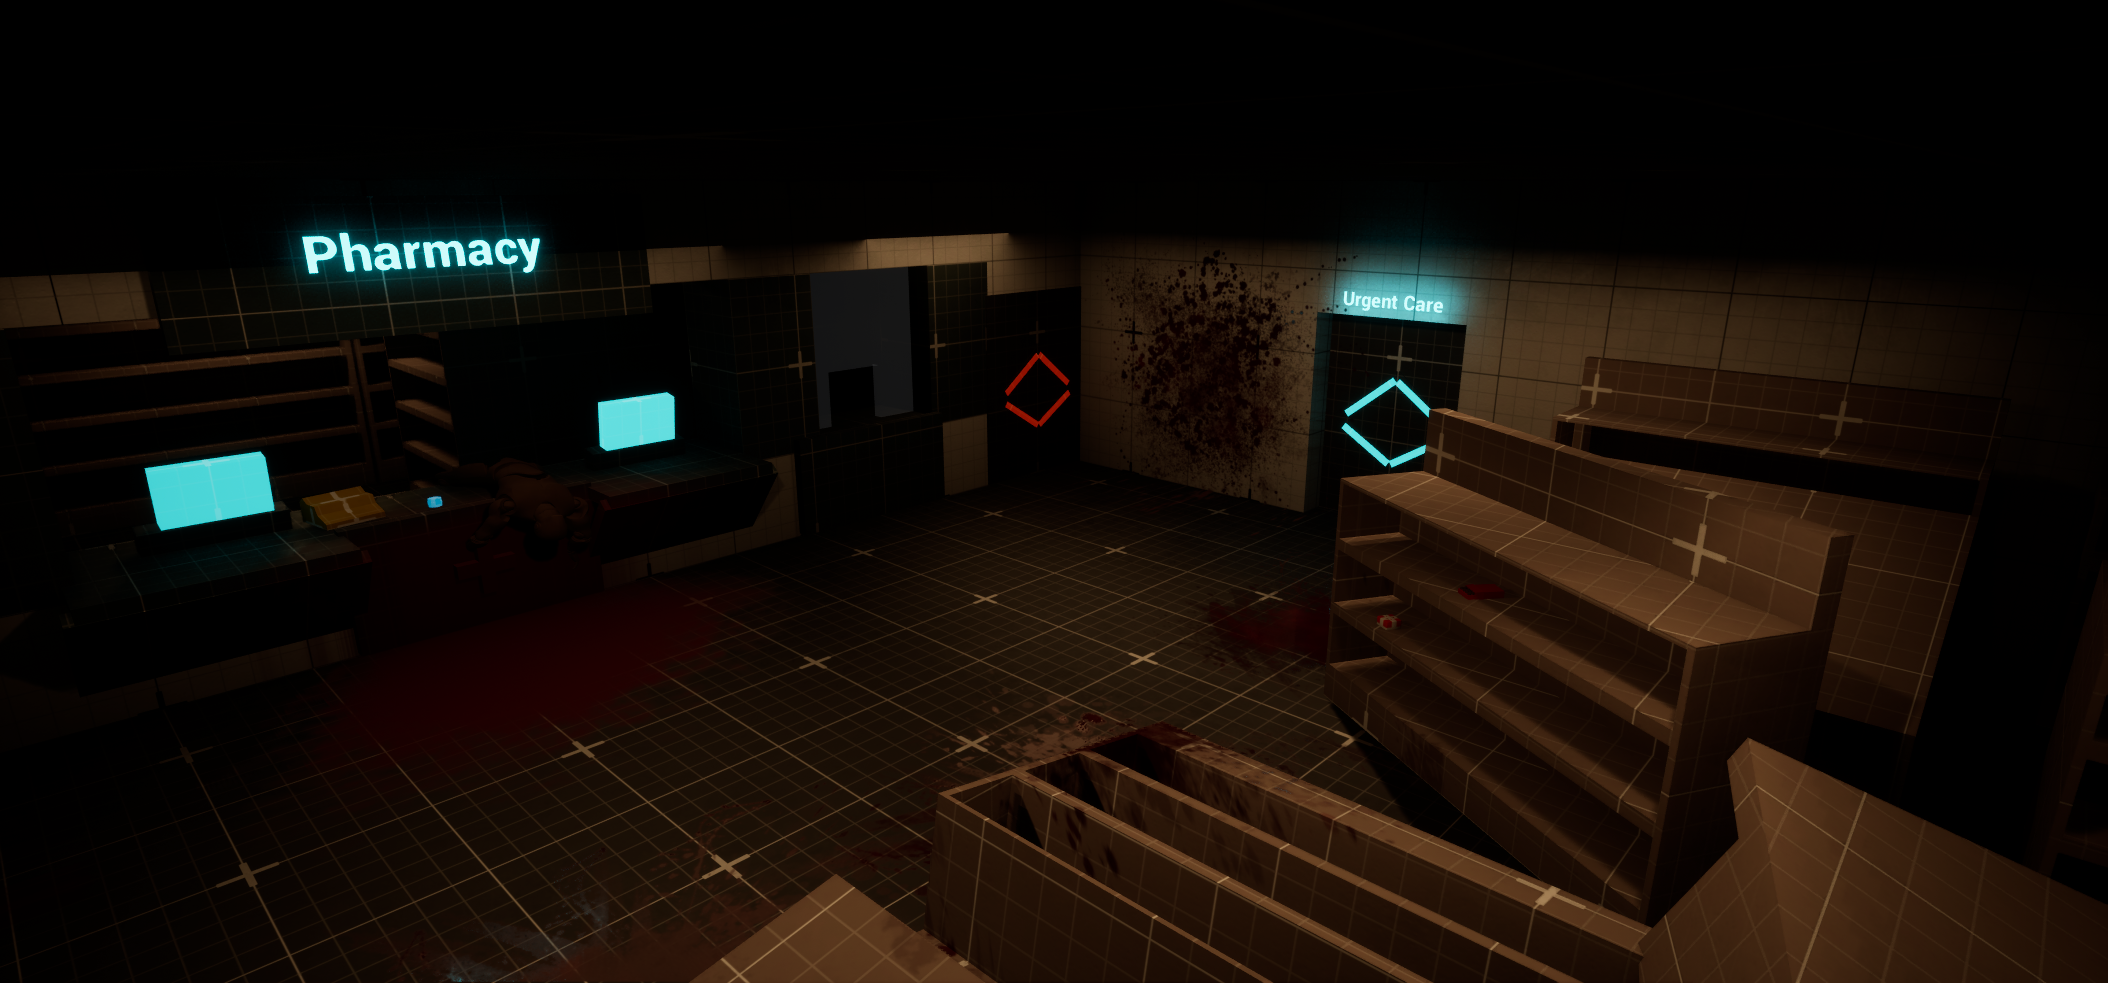
Final Iteration
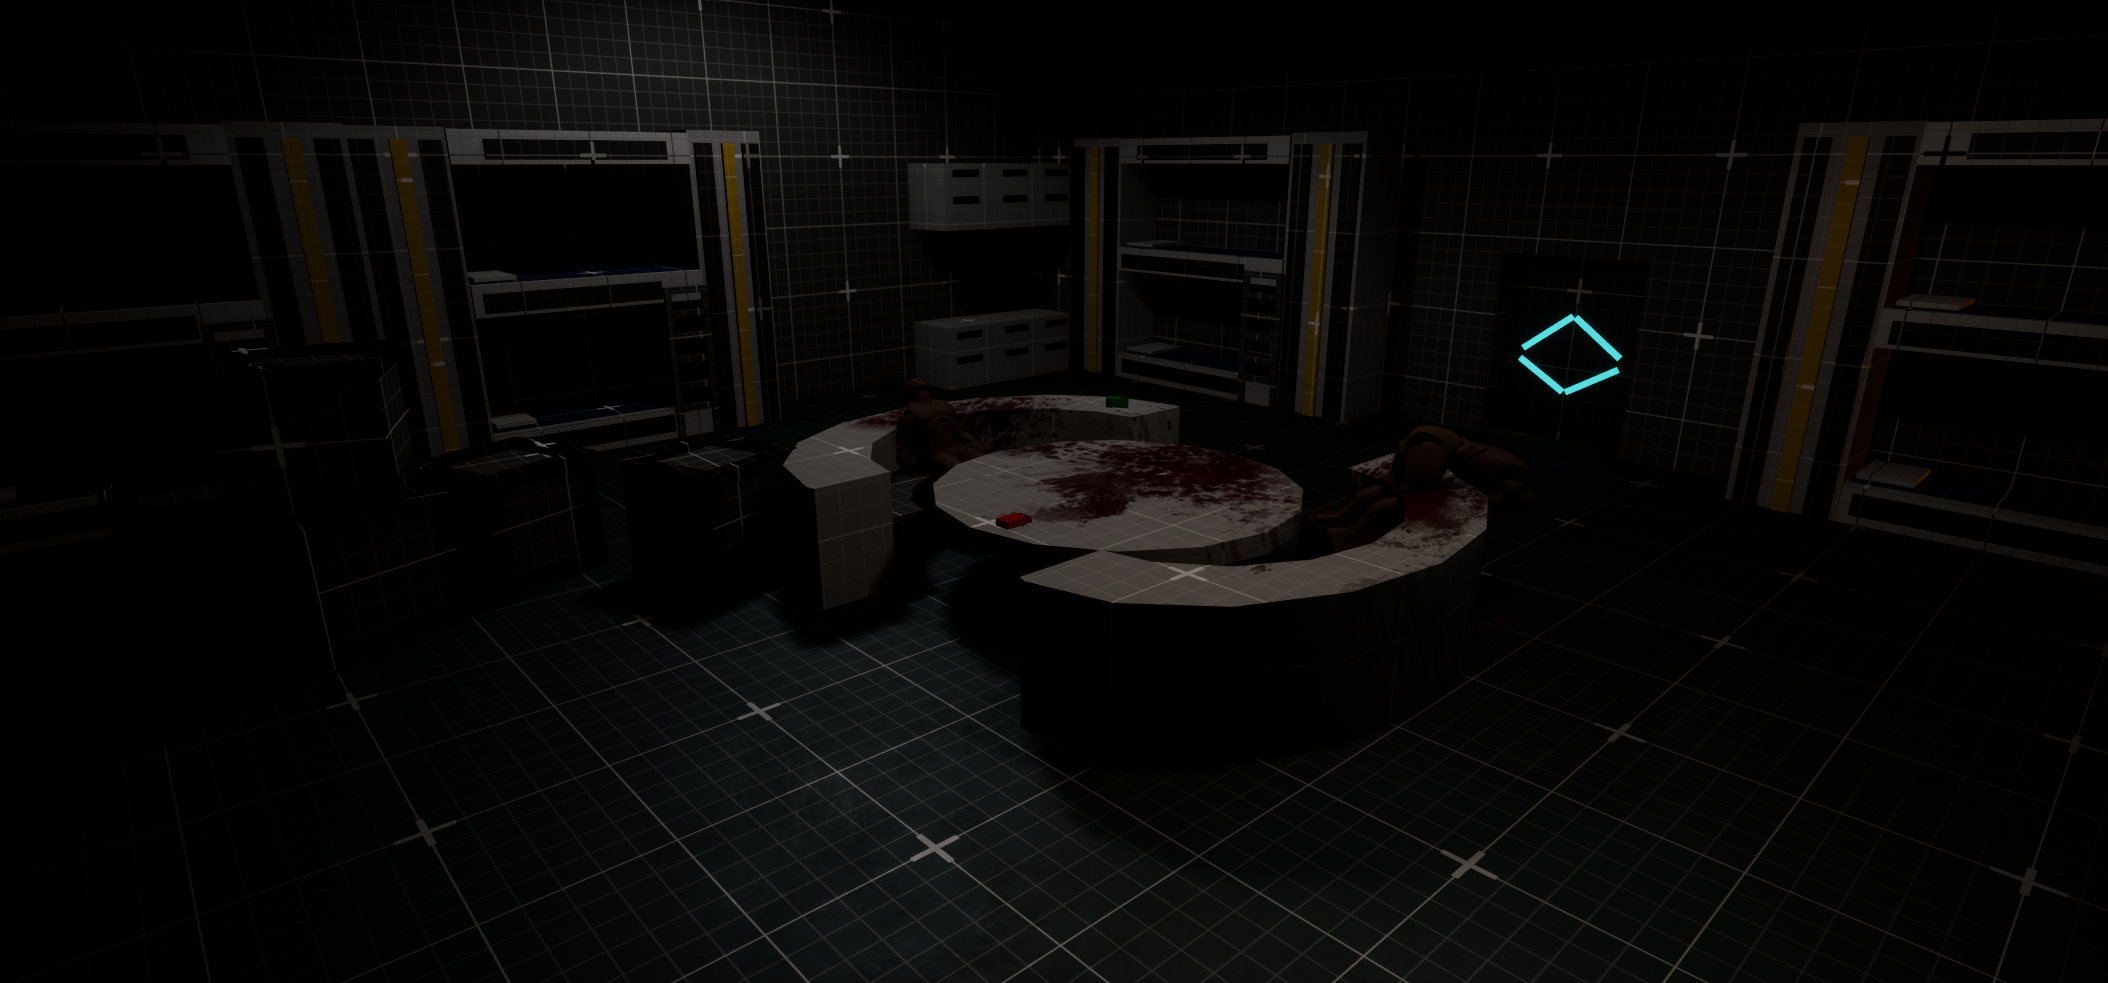
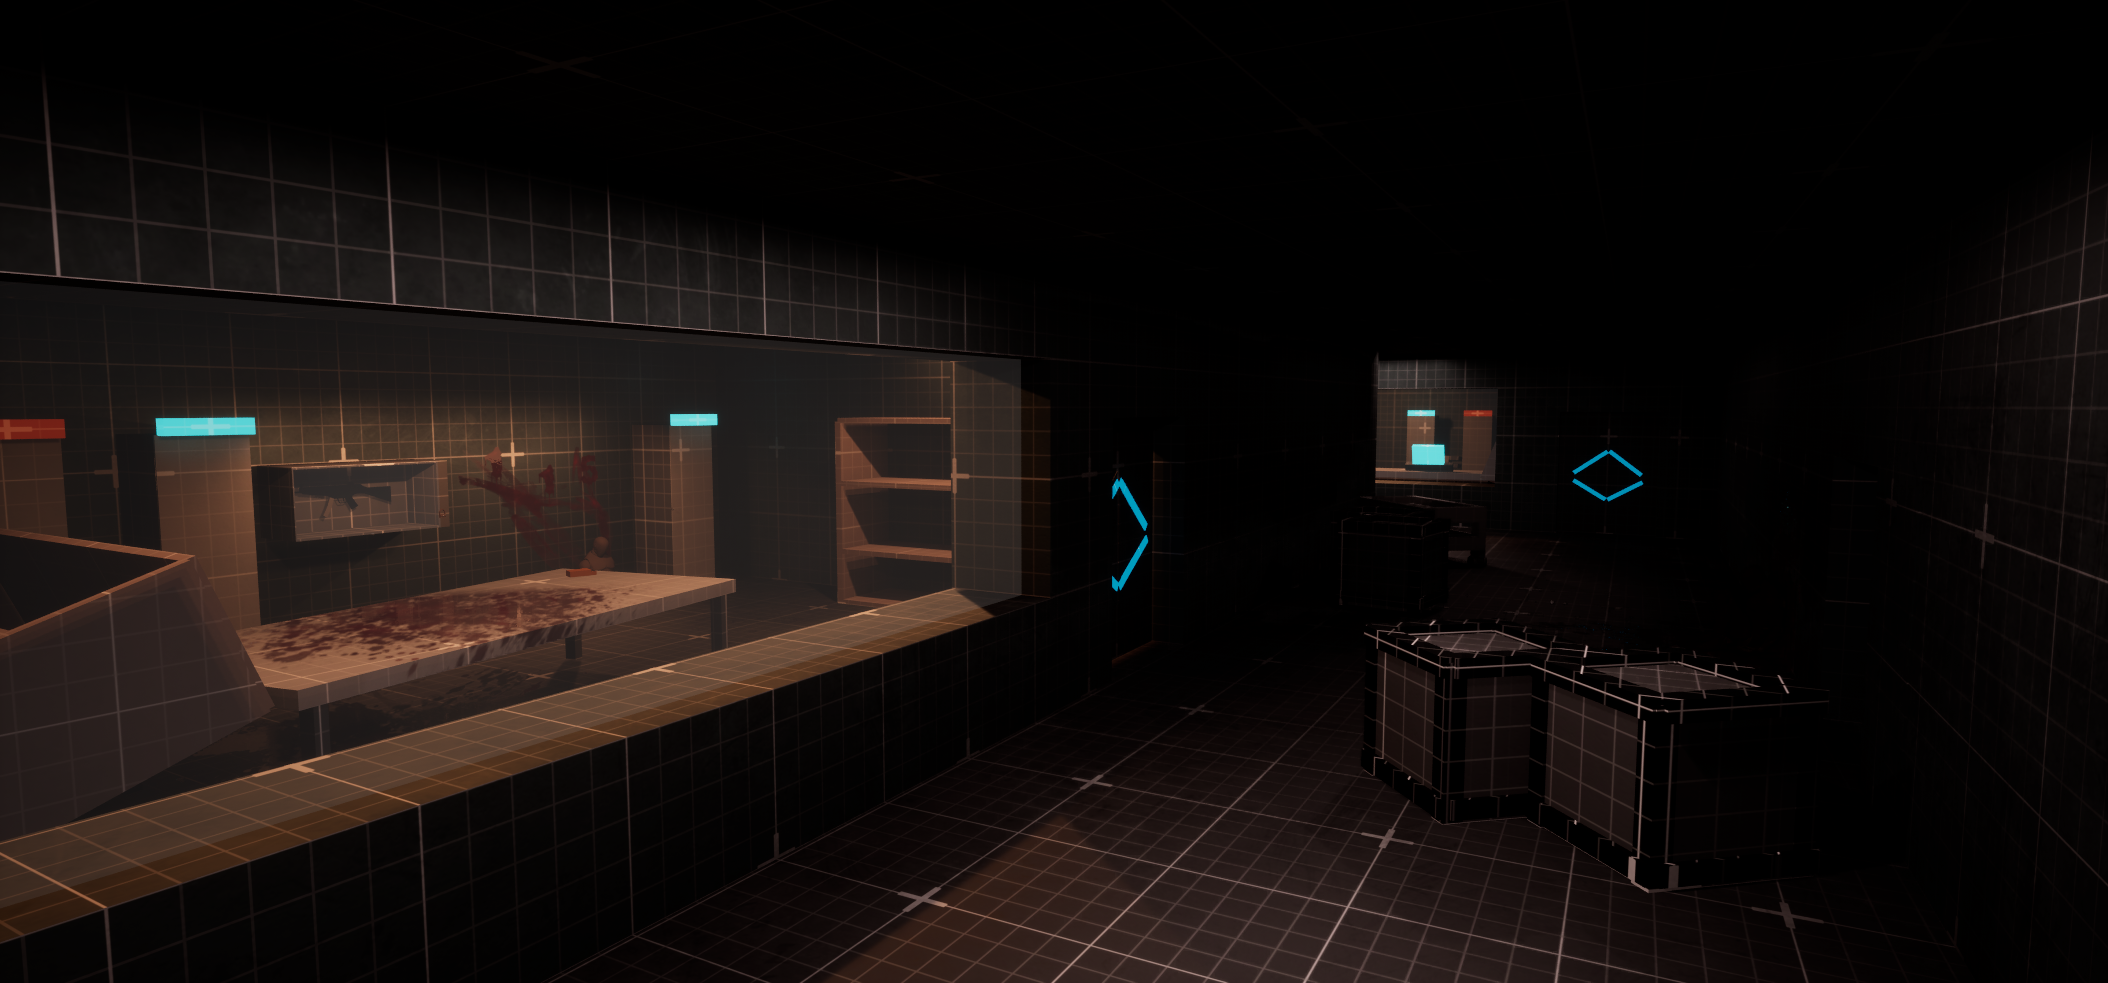
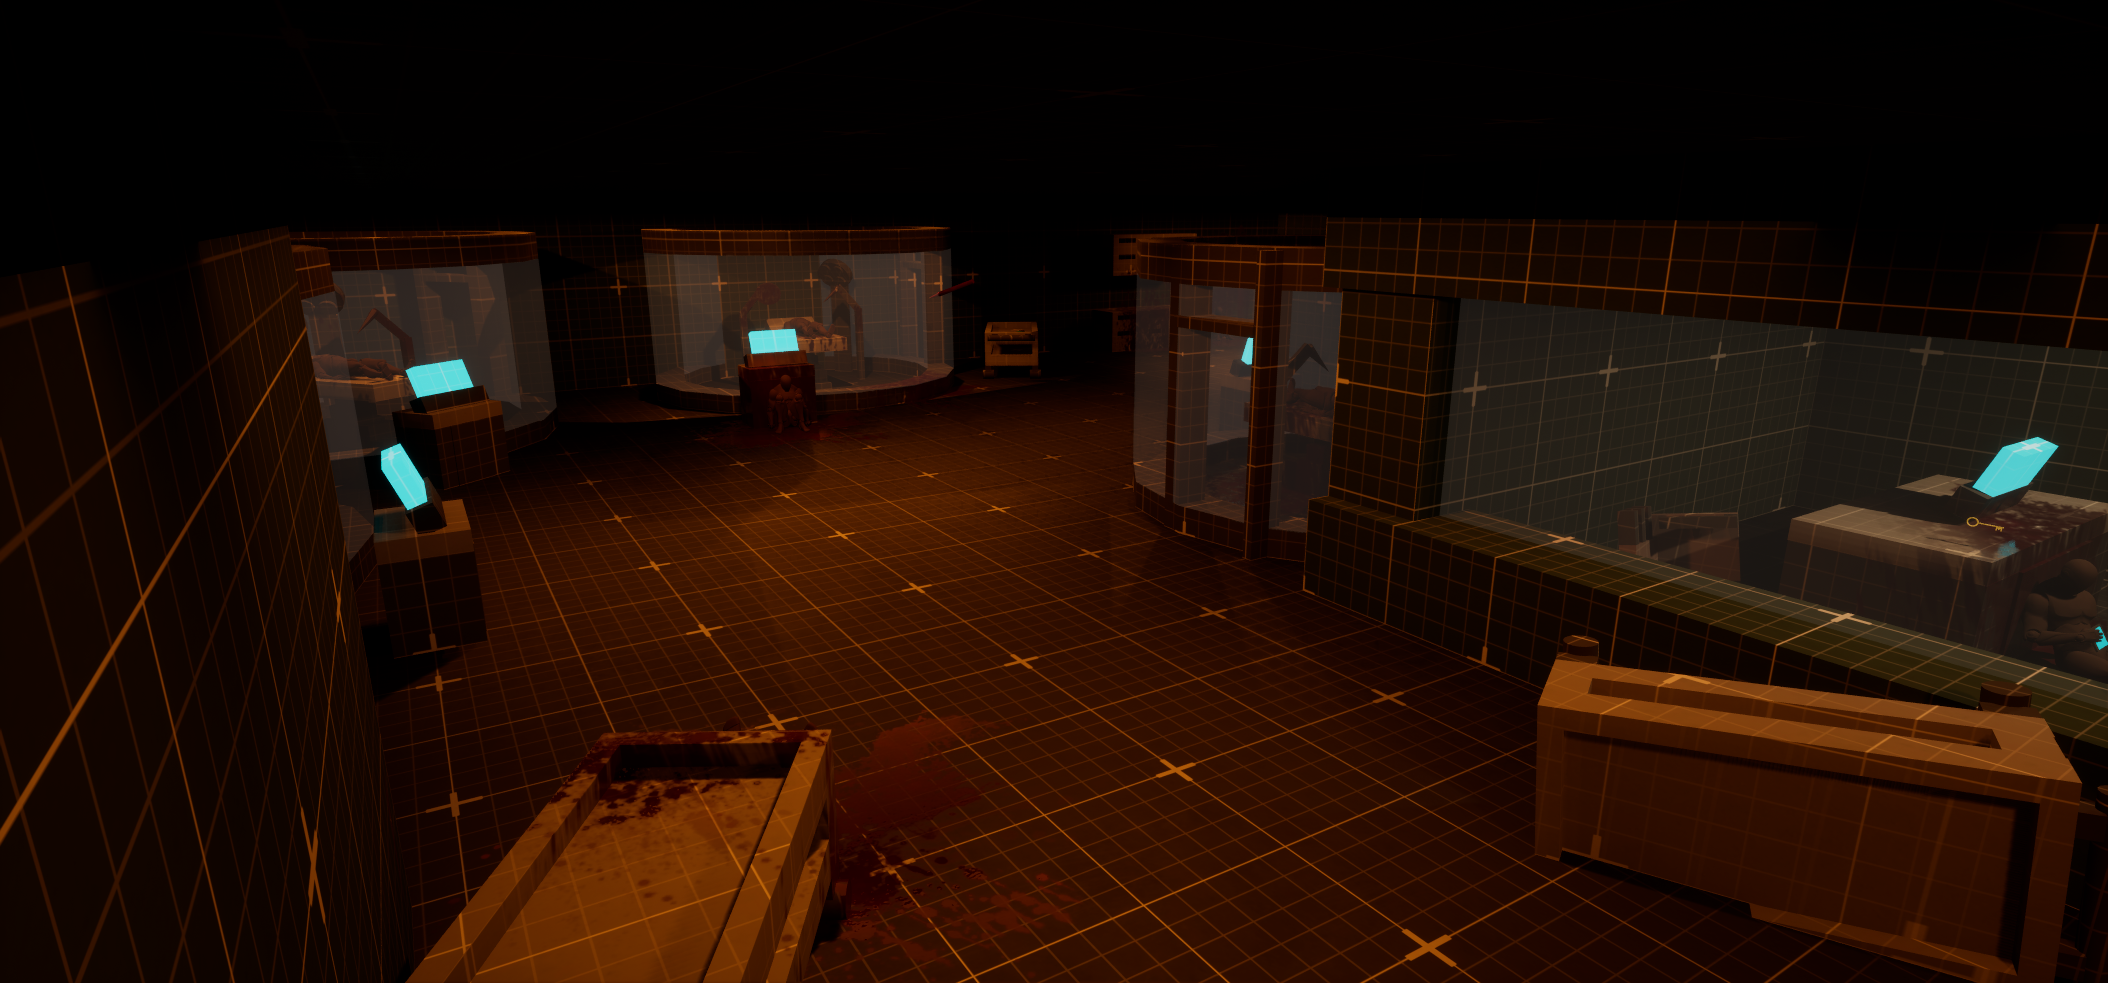
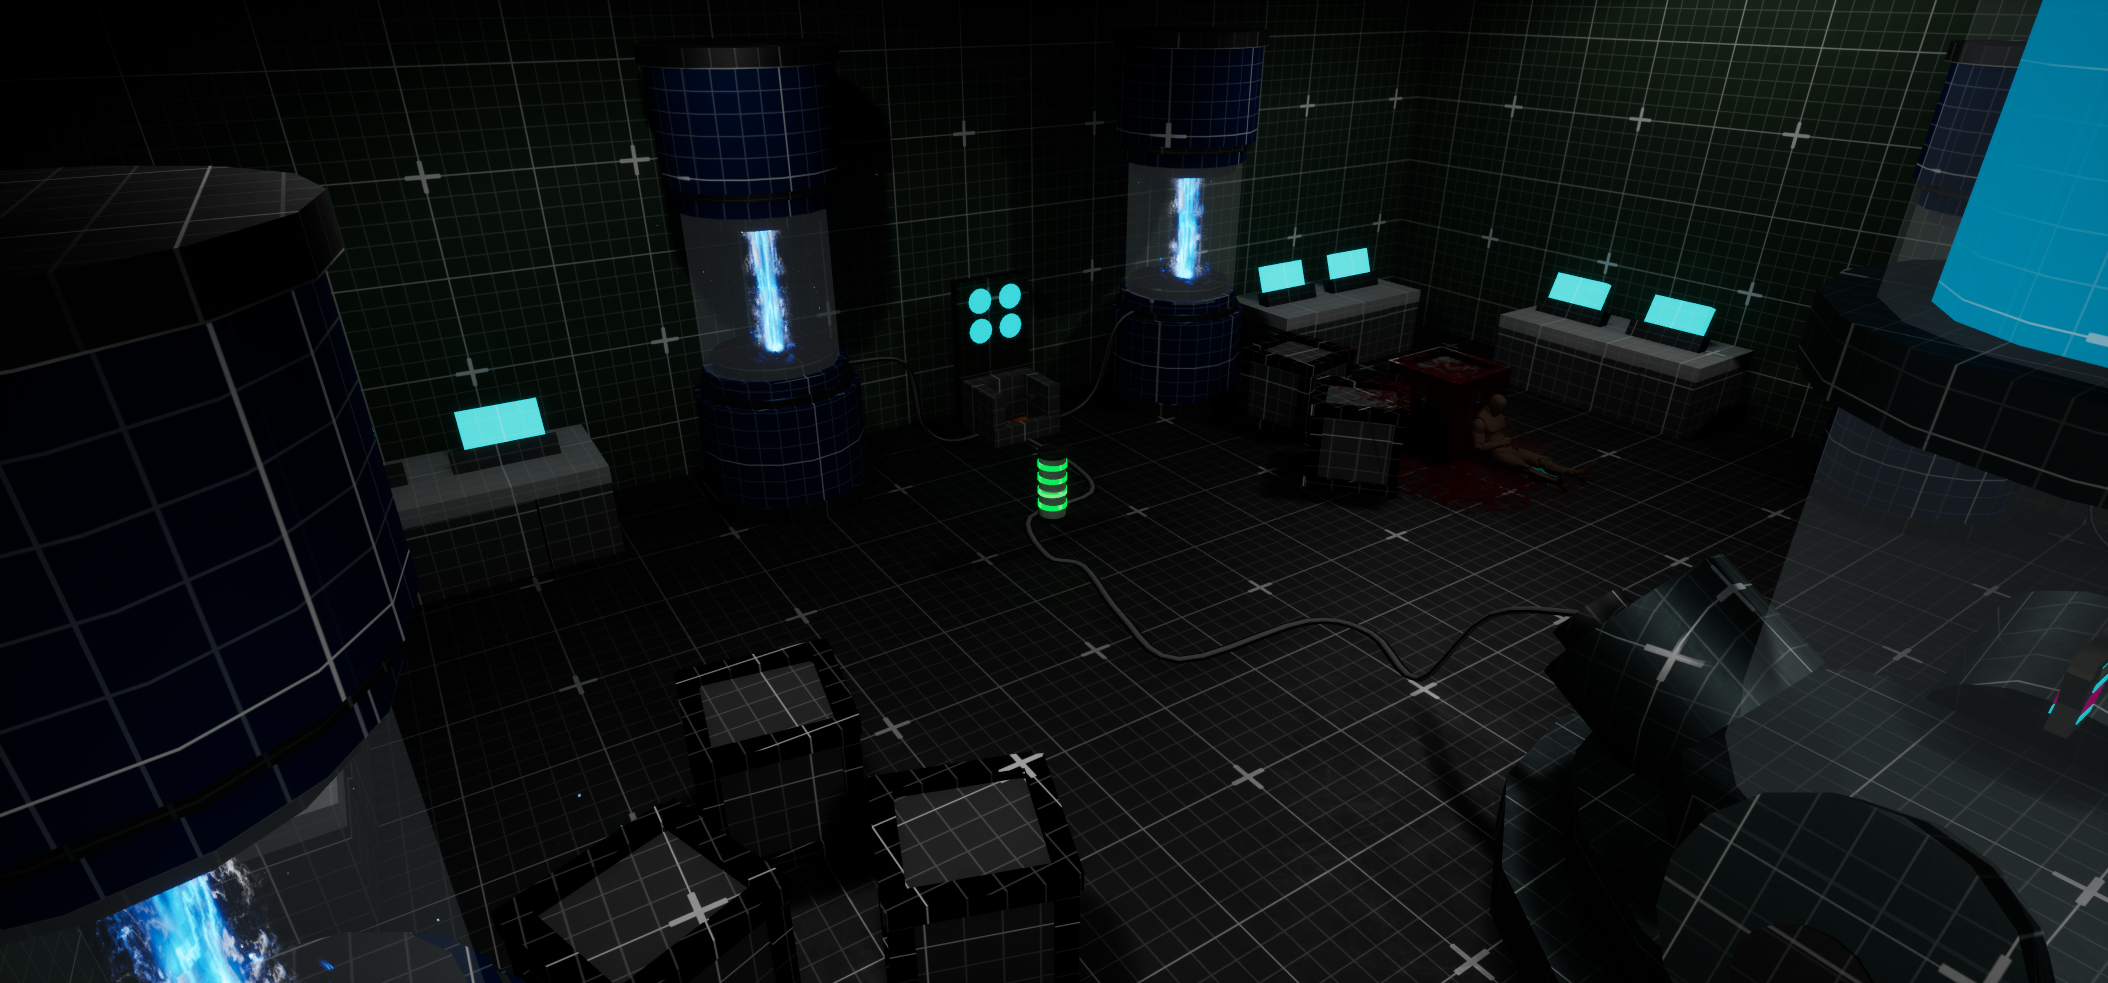
Recreated the room to become a Pharmacy
Gave the room purpose and a function
Made sense and fit more in the space
Was more readable to players and didn’t feel out of place
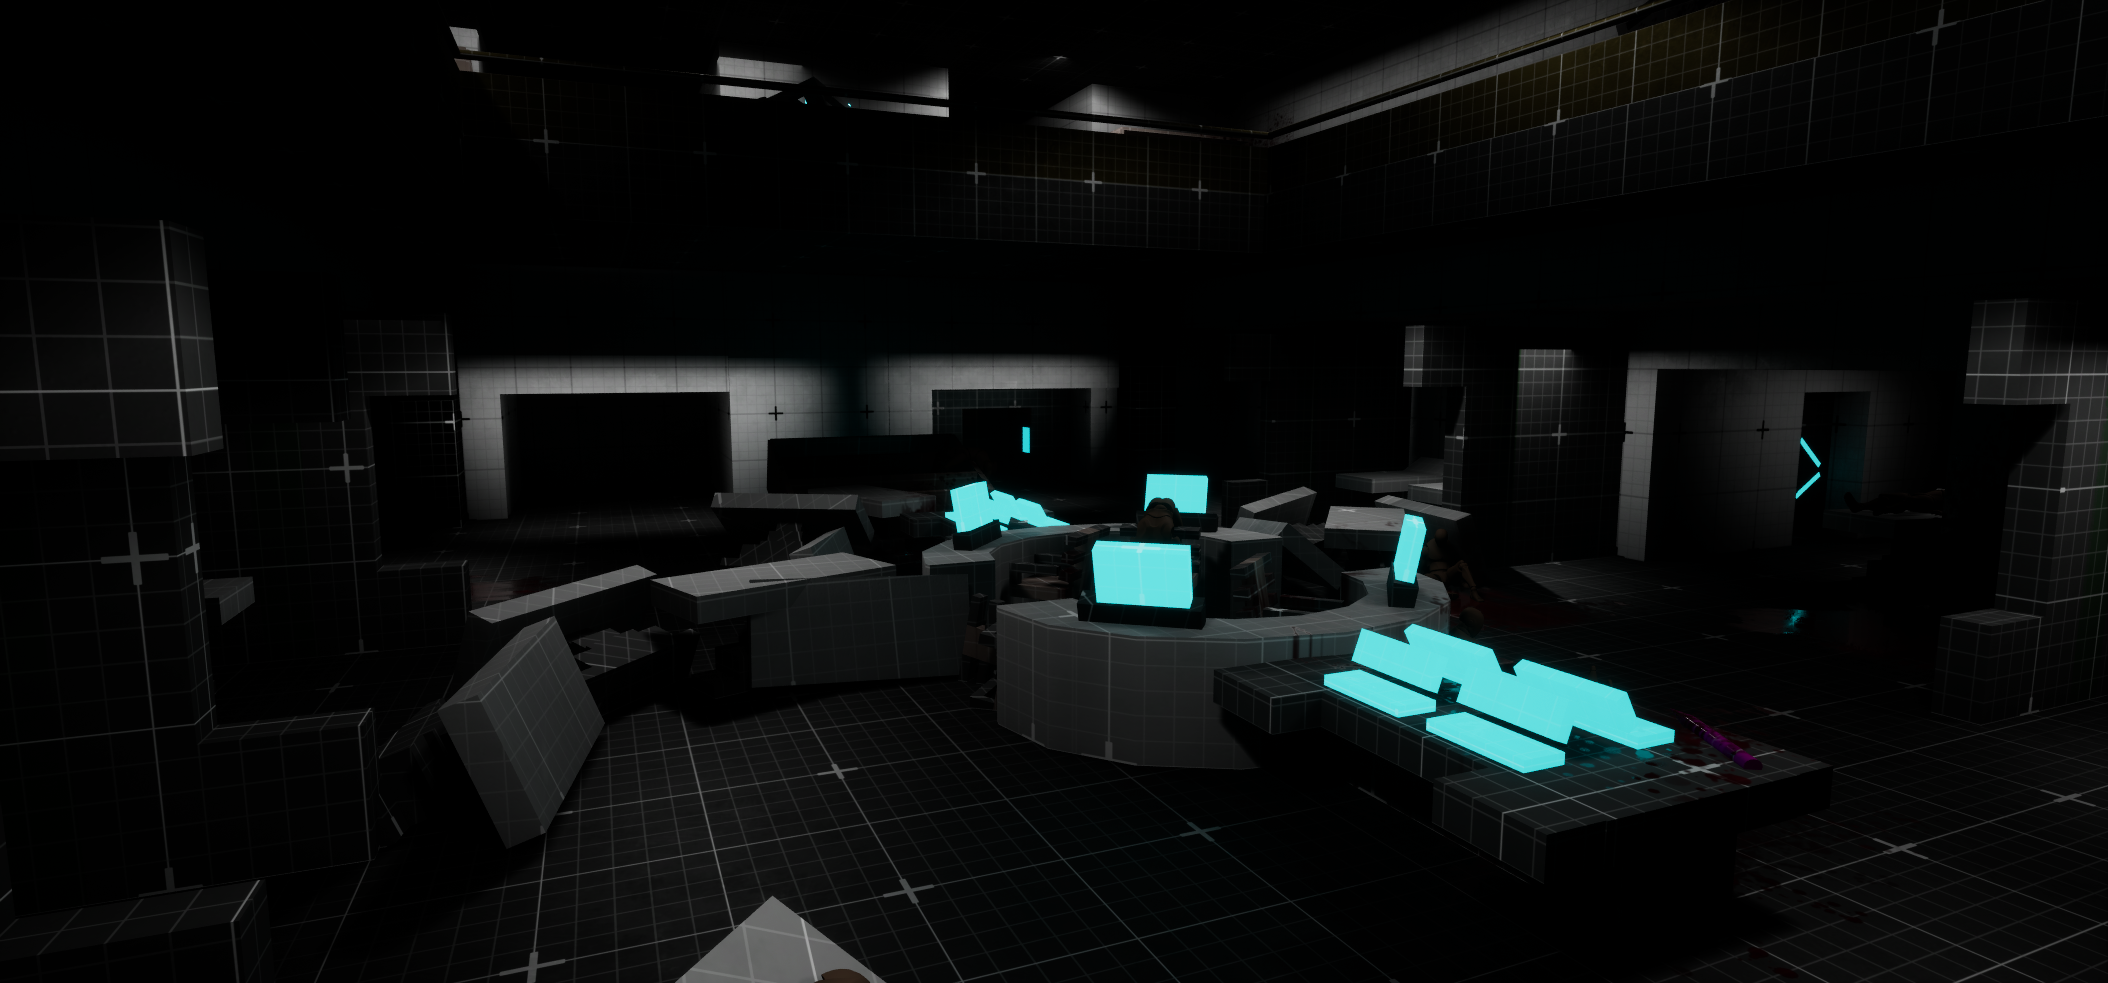
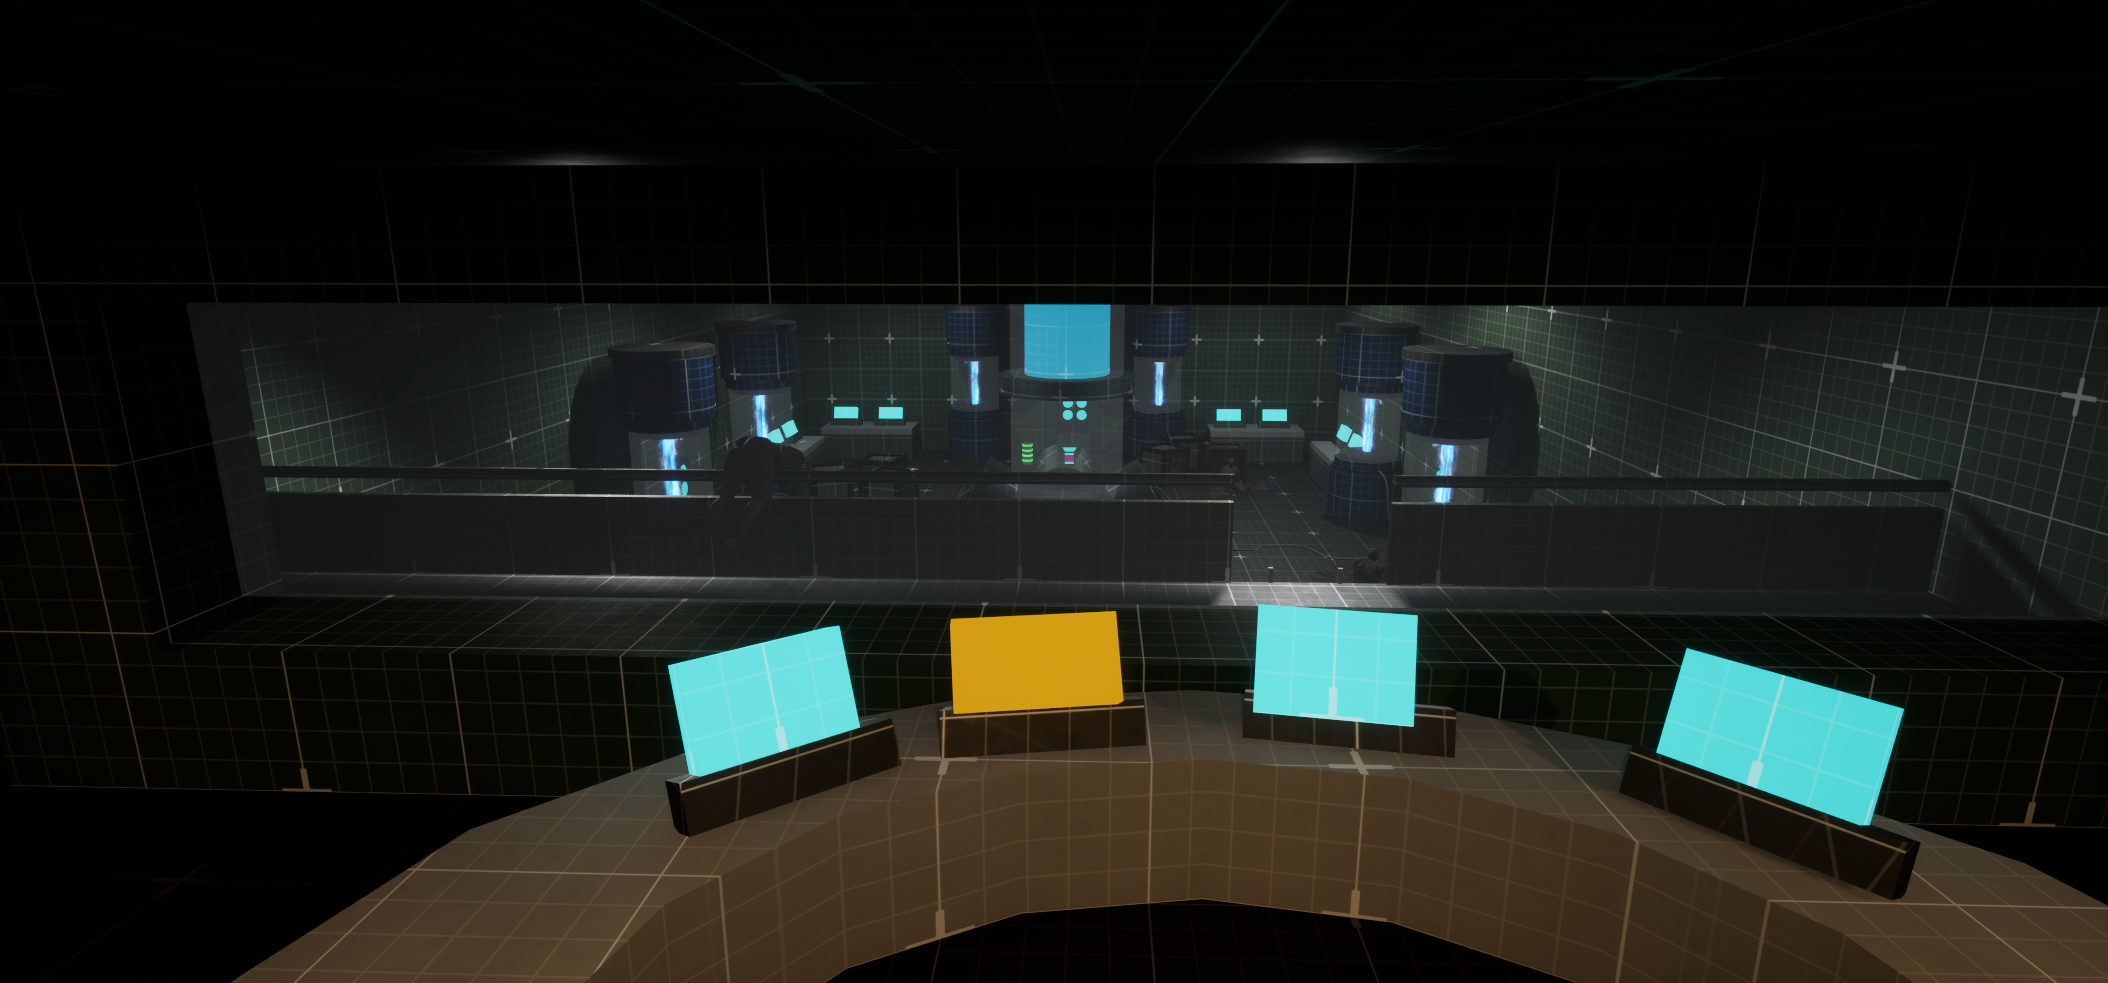
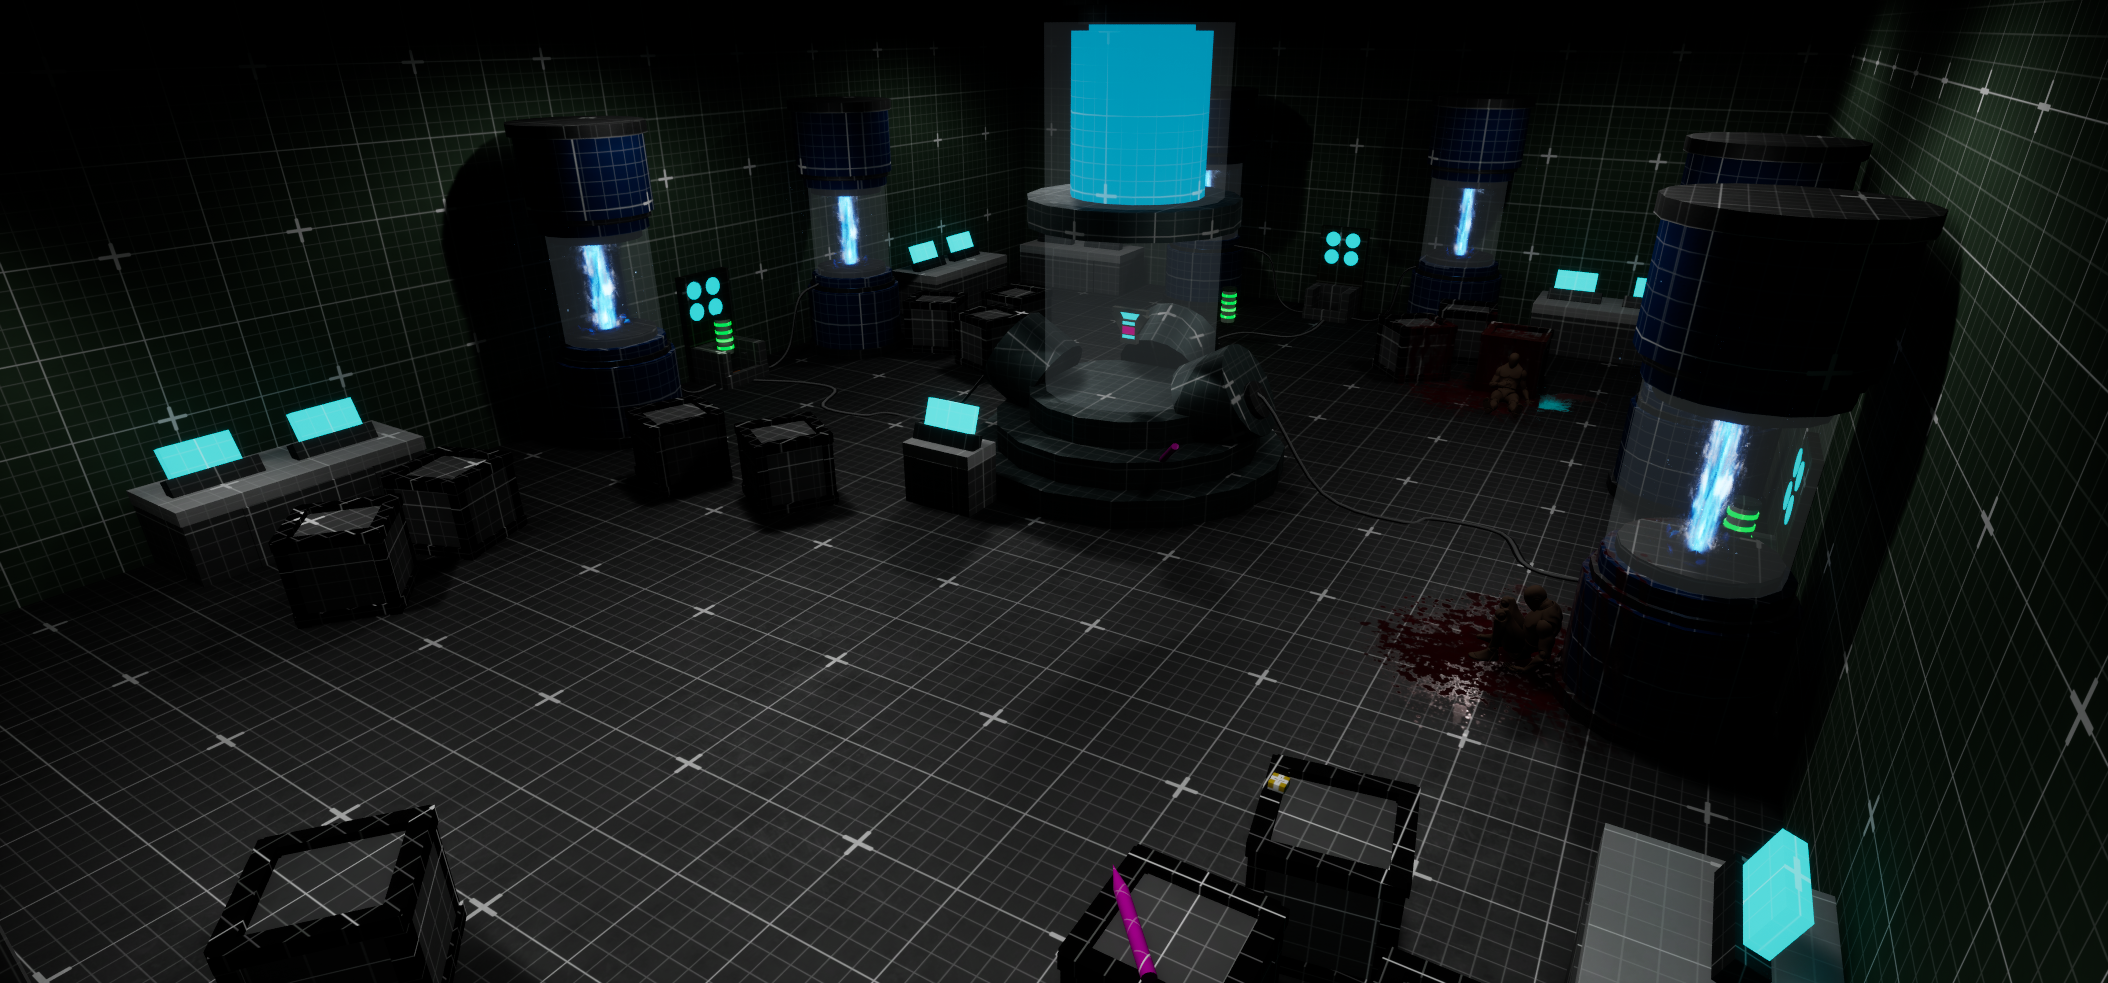
Central Control Iterations
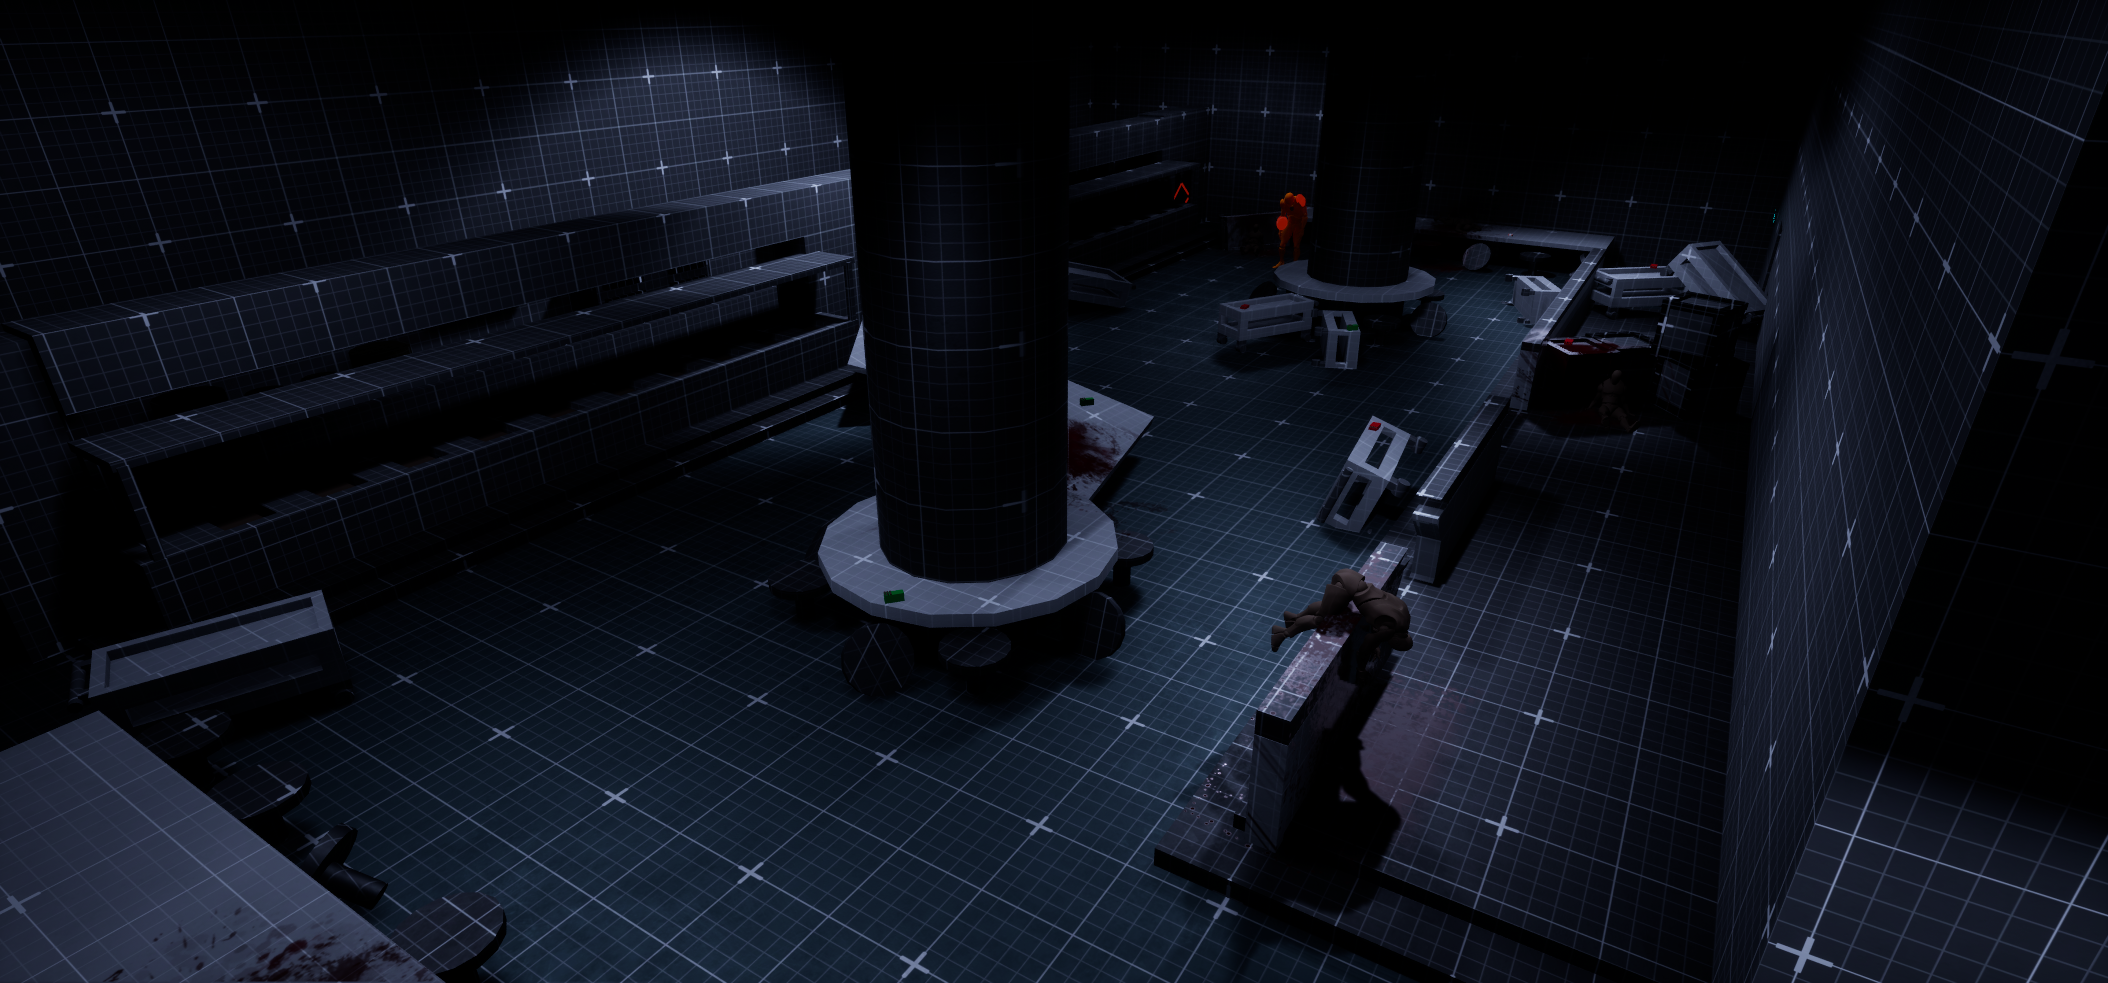
Cafeteria iterations
First Iteration
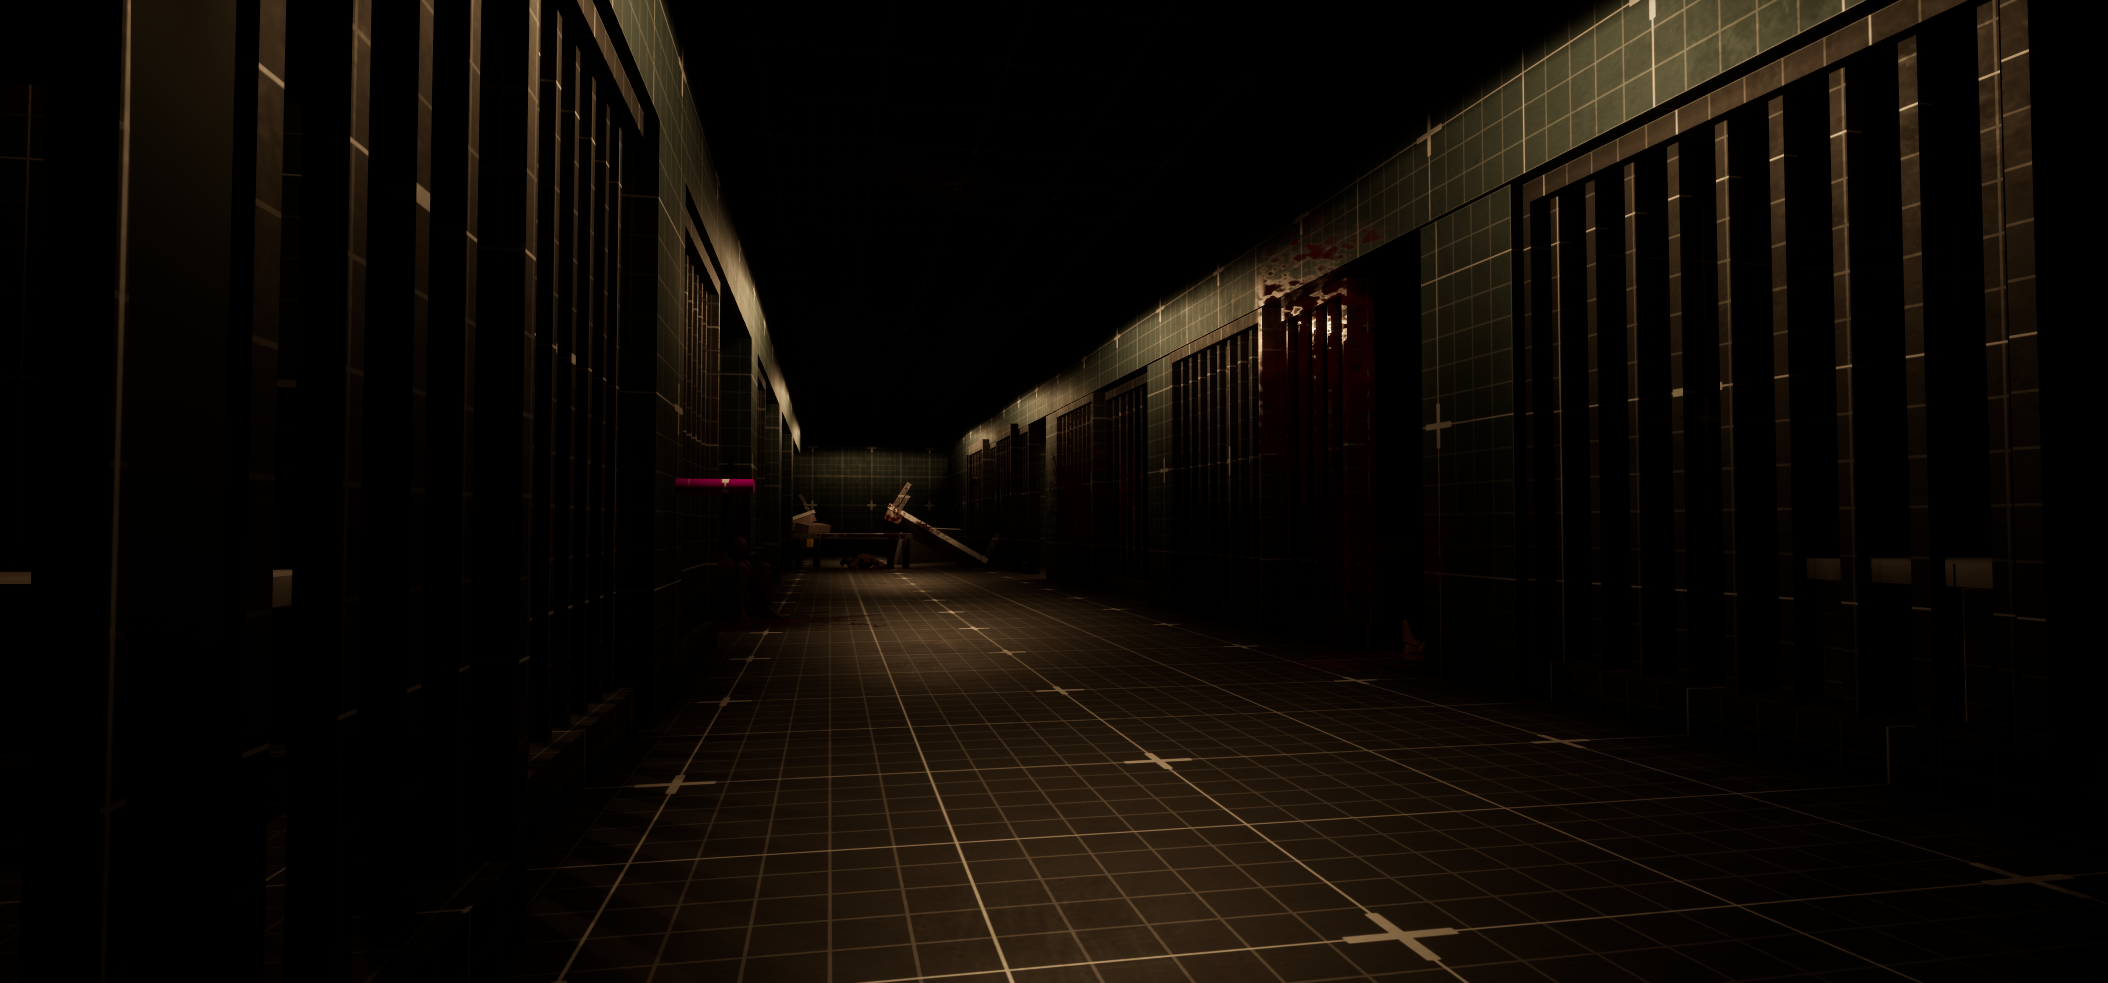
Was a generic hallway
Lacked function or purpose
Felt out of place for being next to a cafeteria
Made no sense as to why this would be here as it would be a high traffic area
Didn’t read well and created uncertainty of what it really was
Final Iteration
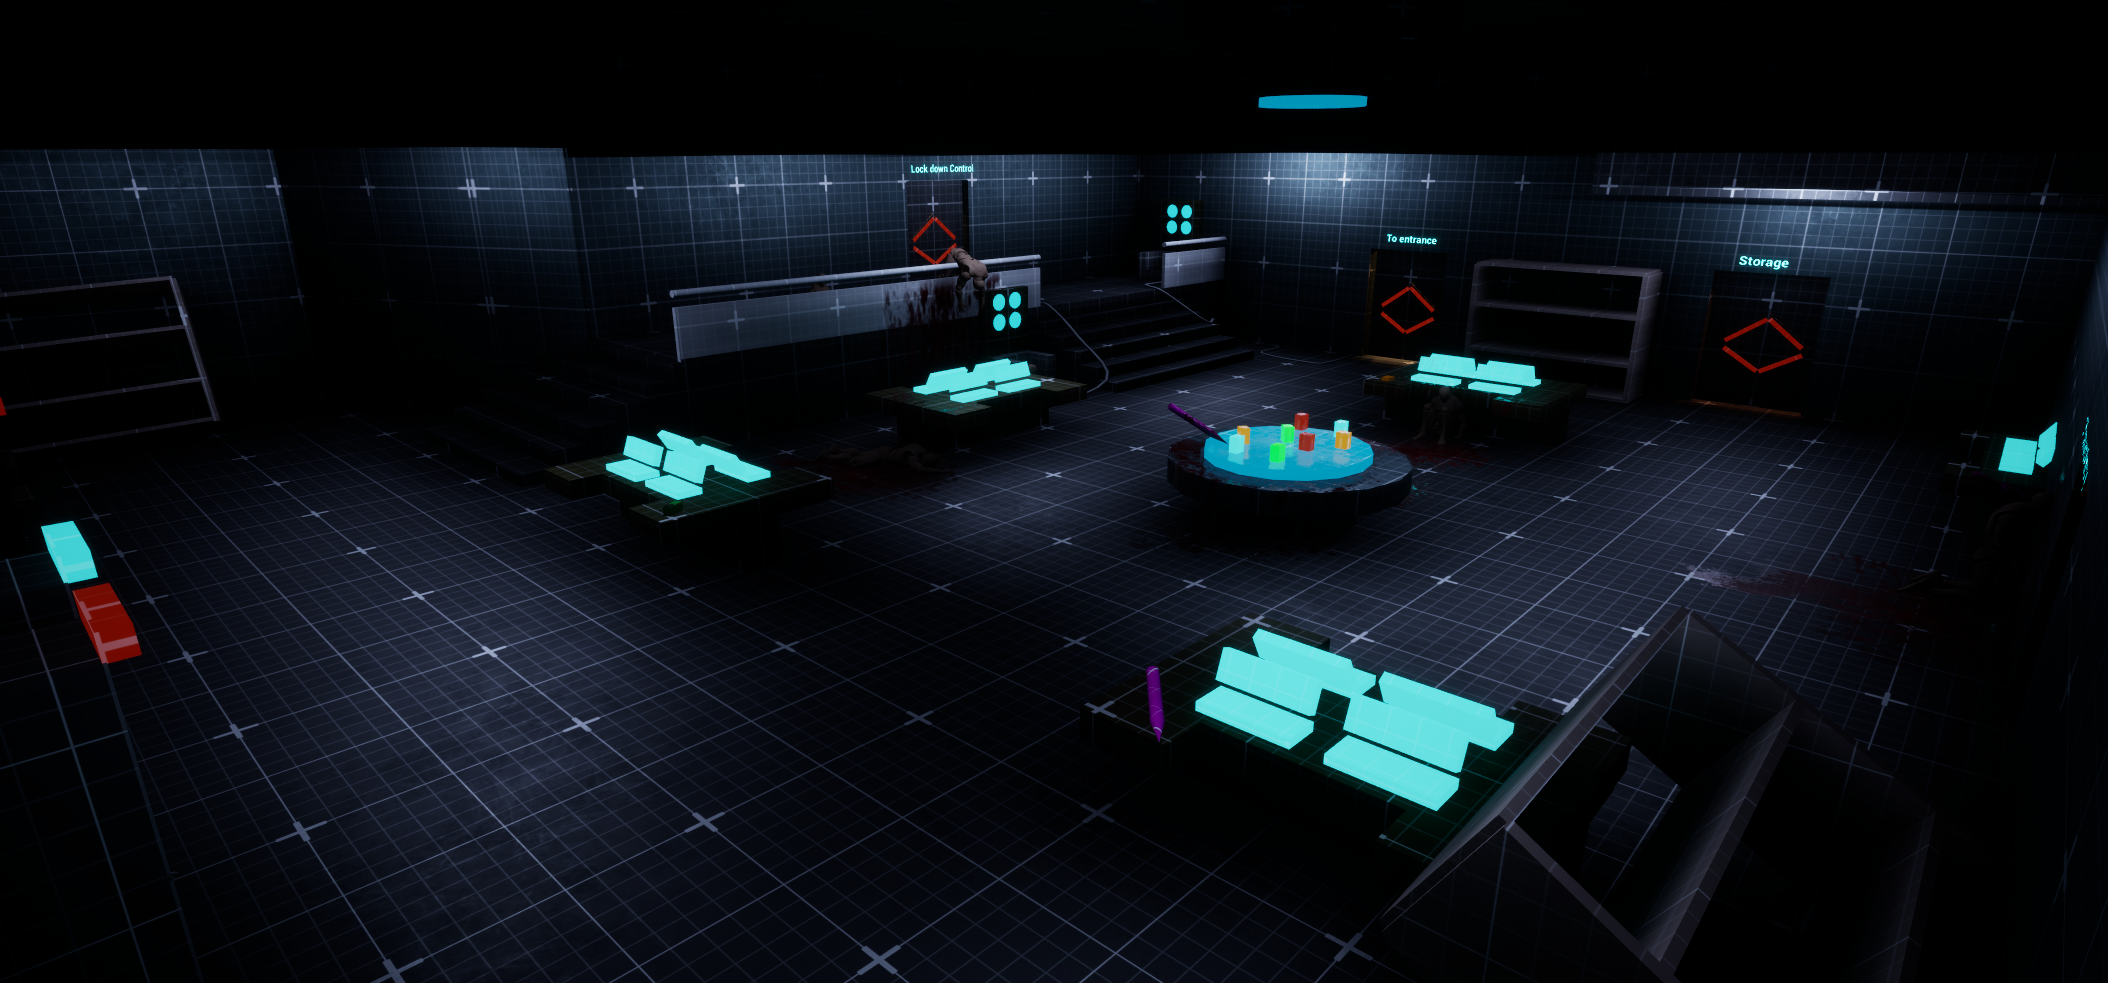
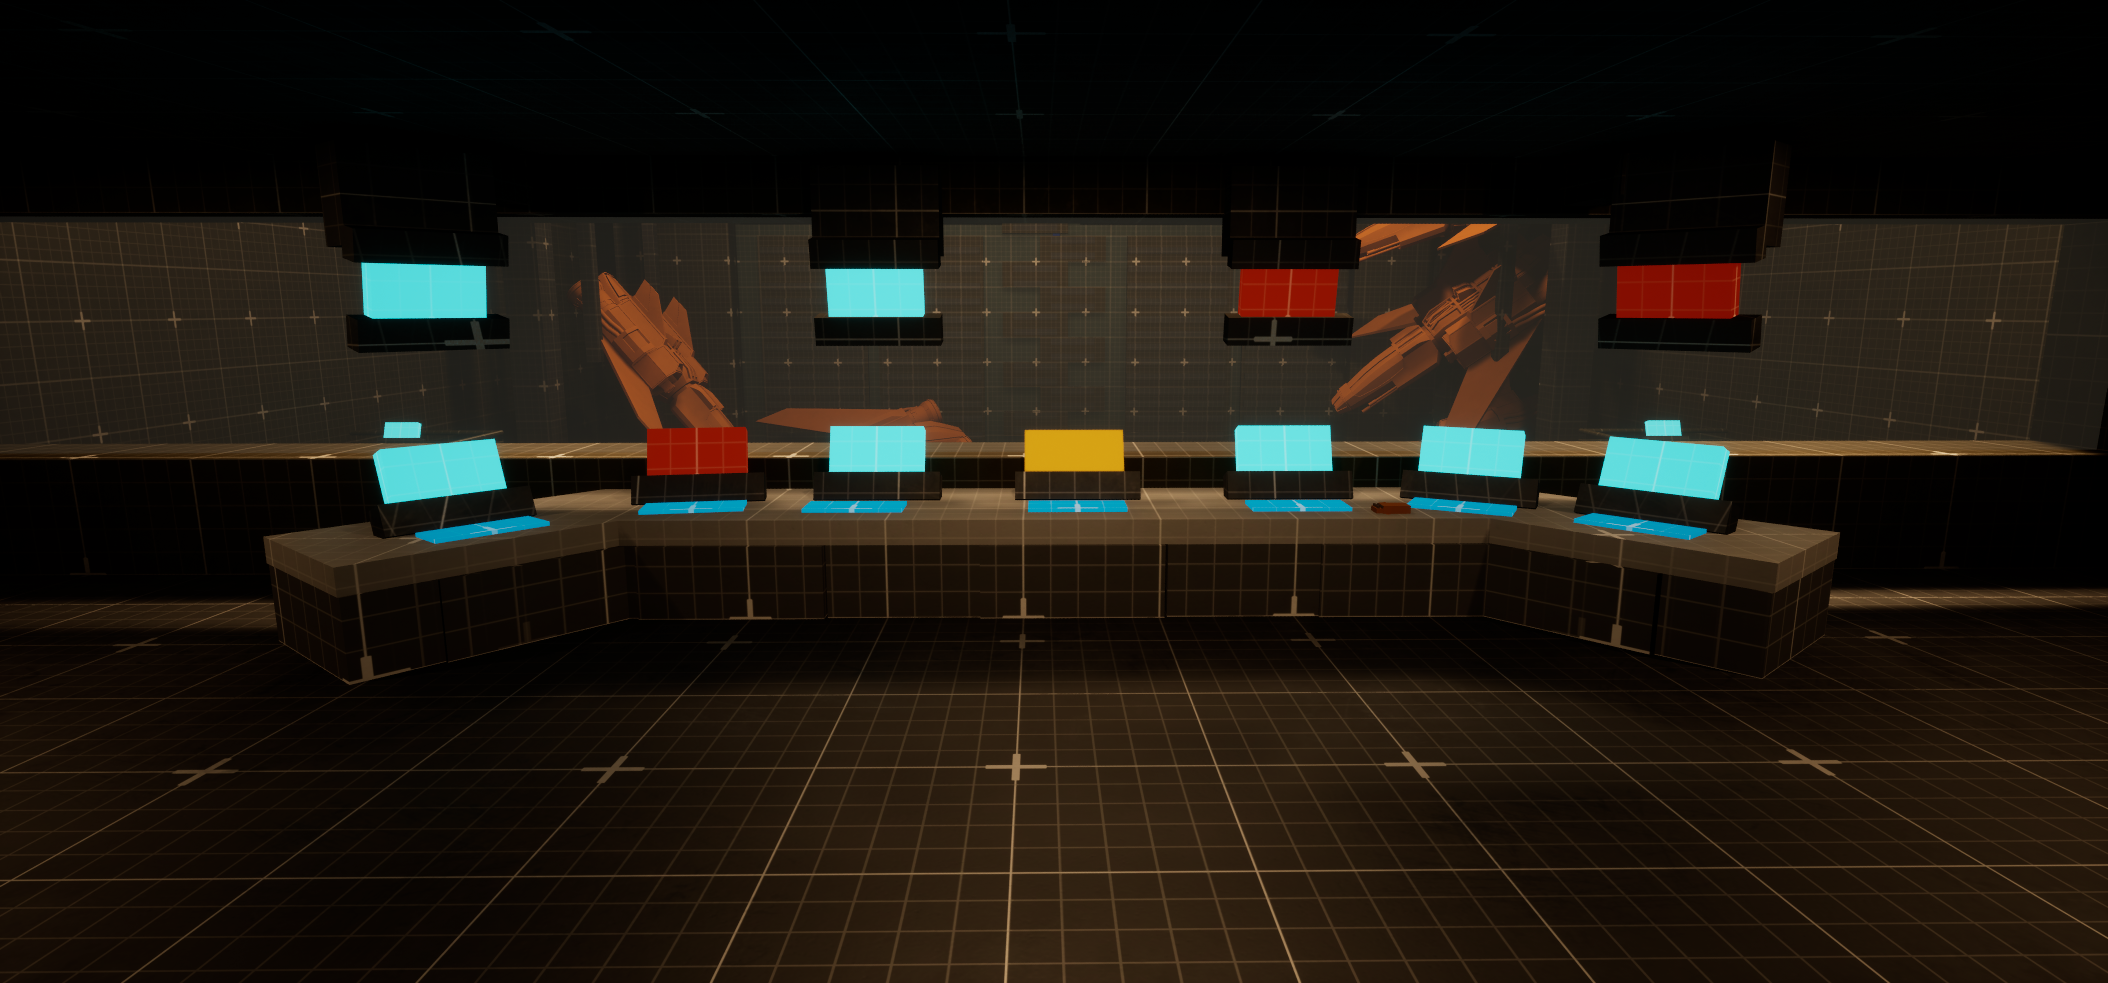
Removed hallway and expanded cafeteria
Made it even more readable with a added kitchen rather just a food bar
Made the space more impactful changing it to house a mini boss fight
Redesign implemented two different figure eight loops and more impactful negative space for the player to move around during the mini boss fight
Second half of central control iterations
First Iteration
Was another generic hallway
Lacked function or purpose
Felt out of place completely
Didn’t read well and created uncertainty of what it really was
Final Iteration
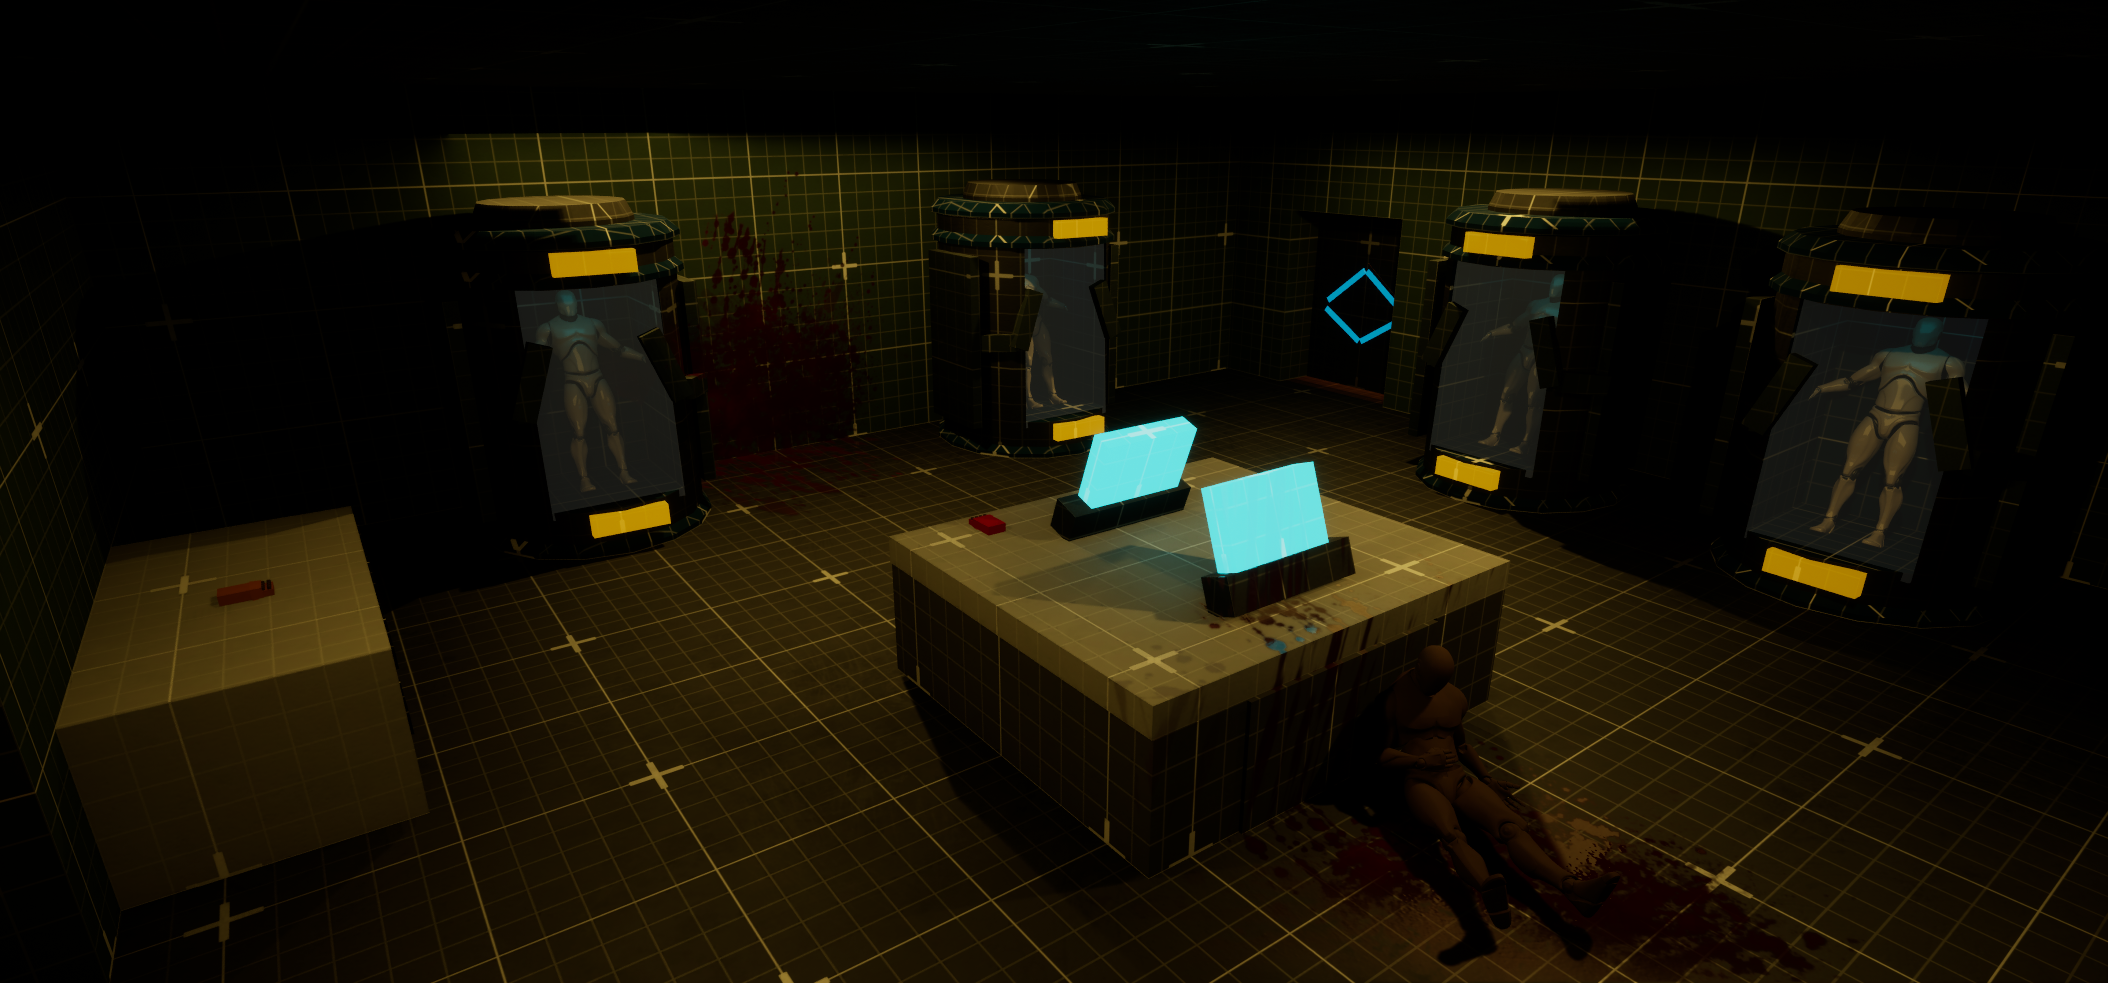
Redesigned space to become a crew quarters
Added a general path as just the crew quarters wouldn’t make sense when fitting in the whole station
Made the player move between the general path and going through the crew quarters making it more impactful and flow better
Area Flow iterations
First Iteration
Flow was confusing at first and felt odd
The player had to go to 1 to unlock 2 then go through 2 to unlock 3
This felt off and off put the flow due to making getting to 3 gated behind two different areas and objectives
Final Iteration
Redesigned layout improved flow and removed player confusion
The flow was simplified making the player go through 1 to unlock 2 then take the tram to 3 rather than what it was before
Removed the double gating and making the player do two different objectives to progress
Lessons Learned
Key Take aways
Flow and playability: Throughout the development of my level, I conducted playtests, and through this process, I discovered that certain areas of the map fell a bit short, were a bit unreadable, some areas felt the same, some areas lacked purpose, and the flow in the second half the the level was not the best at first. Areas that initially felt good and read well to me were often not designed or communicated in a way that the player could easily understand. Examples of these areas are outlined earlier on this page.
Skills honed
UE5 Blueprints: For this level, I developed a power system that activates different gameplay elements, power cable, power core, and telekinesis to enhance combat encounters
UE5 modeling tools: Coming into this I had some experience with using the UE5 modeling tools, but it was not to the extent of making something as big and complexed (at a primitive level for a blockout). I became more comfortable and efficient at blocking out meshes at different scales and details, from, stairs, boxes, rocks, and tables.