TITANFALL 2 BOMBING RUN
SOLO PROJECT UNREAL ENGINE 5 BLOCKOUT
TITANFALL 2 BOMBING RUN
RESPONSIBILITIES:
Designed layouts of the entire map.
Modeled and built the map in UE5, including small scale props, architecture details and pieces, and train cars.
Implemented AI, gameplay, low poly rocks, asset packs for gameplay. Designed enemies locations and patrol routes.
SOFTWARE USED: UE5, Blueprints, Block mesh, UE5 modeling tool, Photoshop, Splines.
ASSET PACKS USED: FPS Starter kit, Titanfall Movement System, Luo's Modular Rocks and Caves, and Rock Environment Pack. This can all be found on FAB
Design Intentions :
Design a high- mobility FPS level based on Titanfall 2
Design spaces that utilizes both movement and combat capabilities
Improve scripting skills by modifying existing scripts to work with new ones and creating new scripts.
Build a complete mission with a start, middle, and end
Create combat encounters that provide room for different approaches.
Full Walkthrough


2D Level Map
Miro Board
I start with planning using a miro board. Here I write down my ideas and organize the level flow and story beats. I also include my 2d map and gather references for the areas and objects I plan to create and put in my level.
First 2d Map
My next step was to hop into illustrator and start creating a 2d map of what I wanted the map for my level to look like. This is the original map that changed drastically as I created the level in engine. After running through different setting ideas from the train running through a military base to a mountain side I ended up deciding on having the map take place in a mountain range/ valley. While I concluded on this as a start I was thinking of “wow” moments and how the player will use movement in each space especially combat.
Initial questions
How will this space feel to the player?
How can I combine movement elements in combat spaces?
What if the player moves in the opposite direction of the train?
How will the player know to get off and on the train?
Does the start fall flat and would it be better to have more of a build up to the train rather than starting right by it?
Metrics Gym
The metrics gym helped inform my level metrics through having a playground to test guns, jump height, wall run length and time, and combat. .
Shooting range to test guns.
Simple combat room to test cover height.
Jump course to test jump height and distance.
Wall run and Jump course to test wall run and jump height and distance.
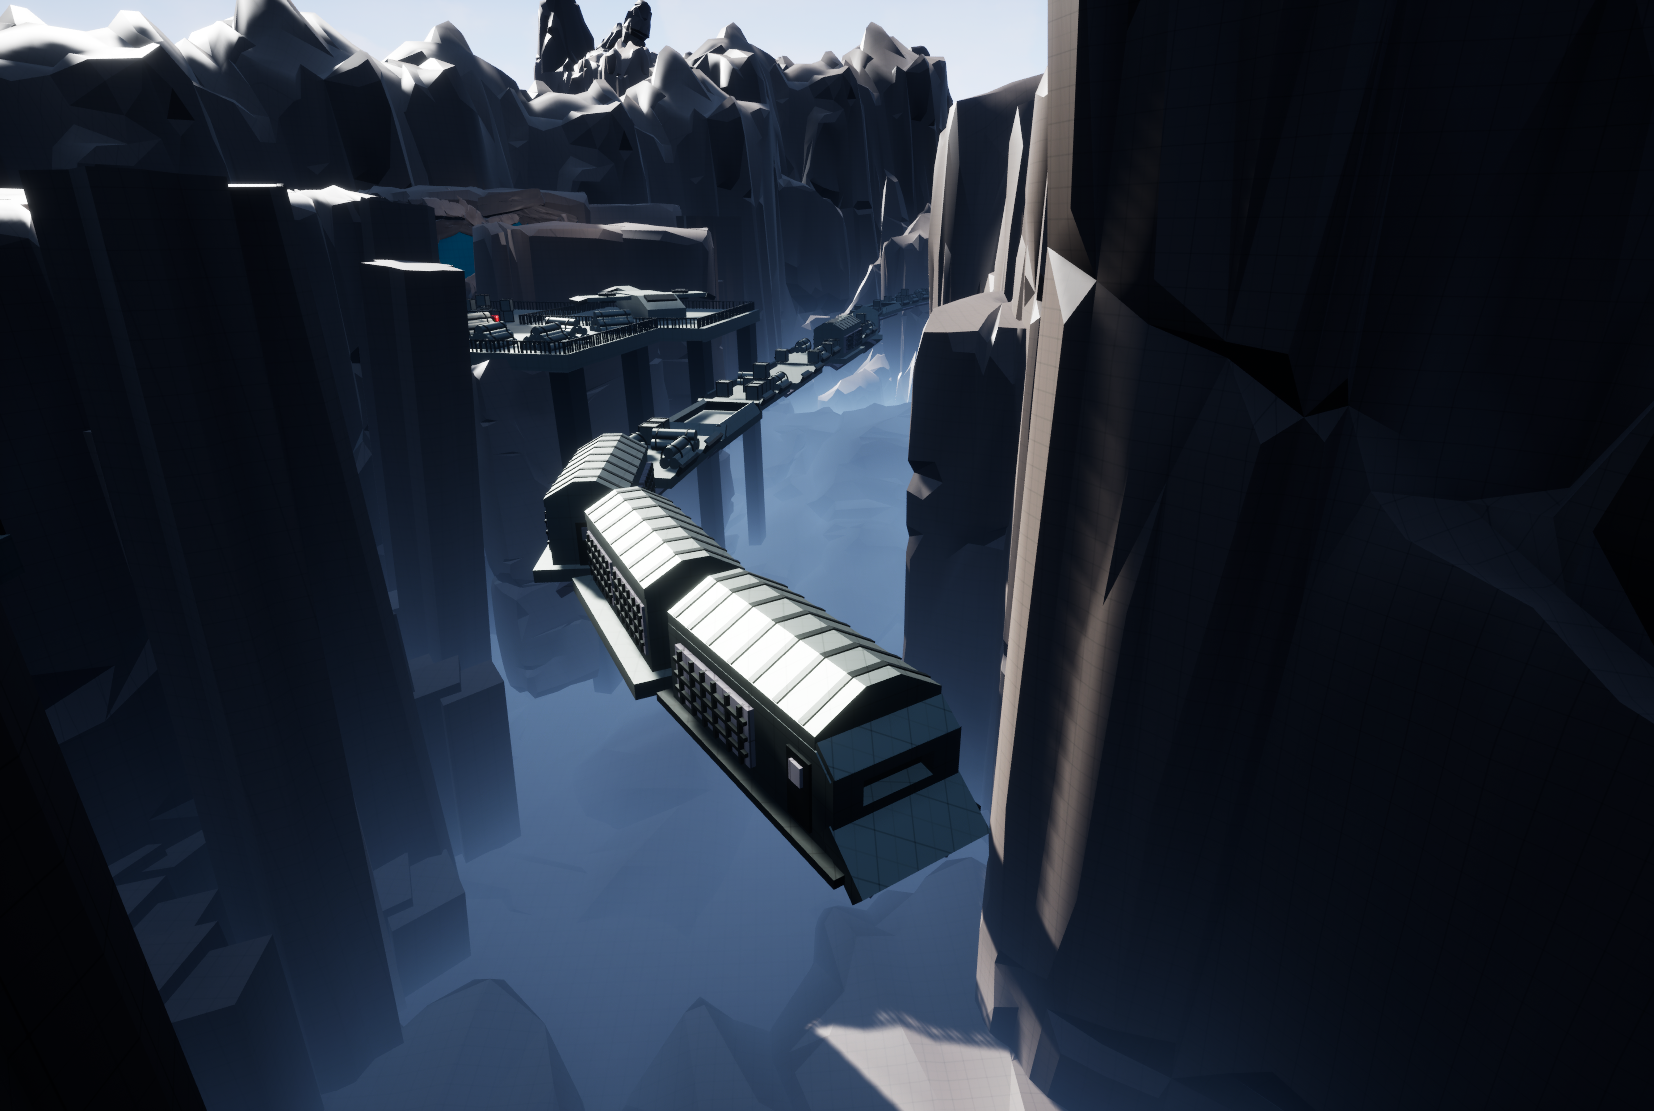
Making The Train
The train is the center piece that the player will be moving throughout the level on. The train is vital for my level as it pushes the player forward and makes the level constantly moving. Having this aspect is something important to Titanfall 2 as movement is at the center of that game and having something that intrinsically gives the player a feeling of urgency to move helps align with Titianfall 2’s gameplay.
Train cars modeled in Unreal Engine 5 modeling tool
Train made using a moving spline
Train works with in game check points. Resets to position when check point was activated upon player death.
Security gates, cranes, boxes, fuel rods, cargo crates, and a drop shop all made using Unreal Engine 5 modeling tool.
Other modeled props
Iterations
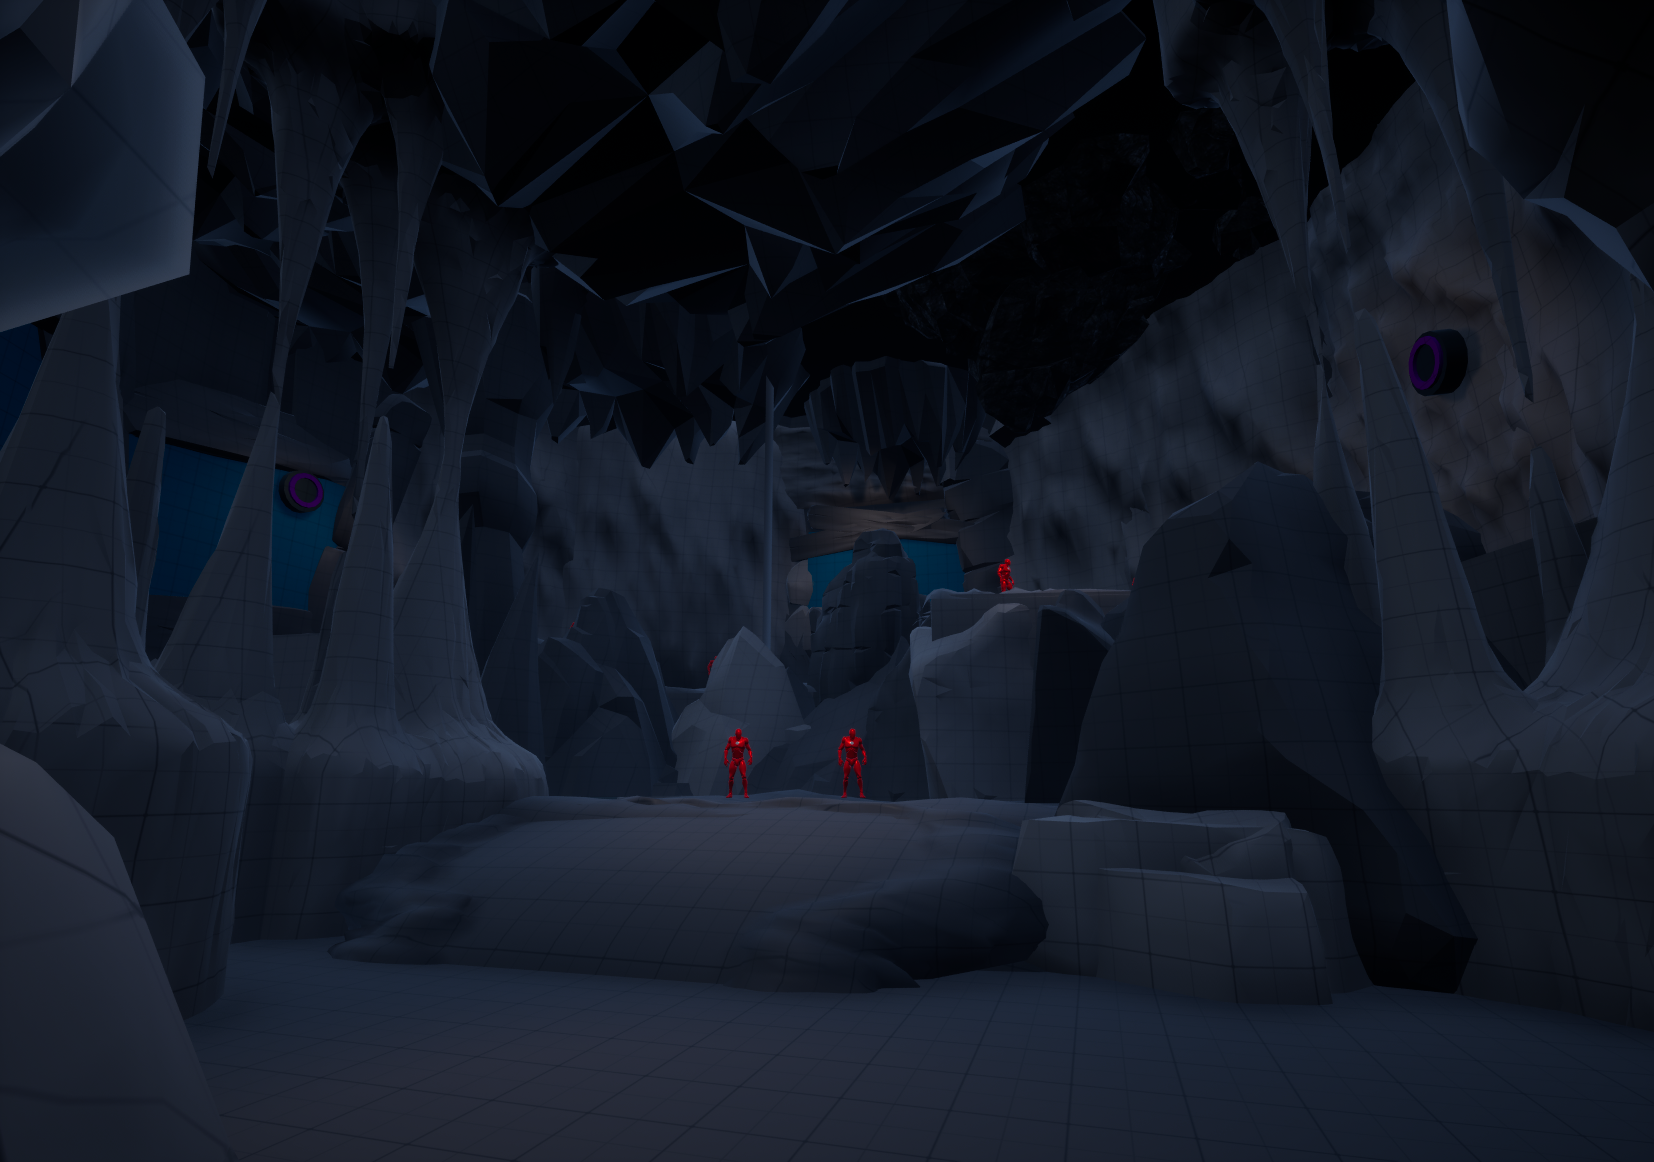
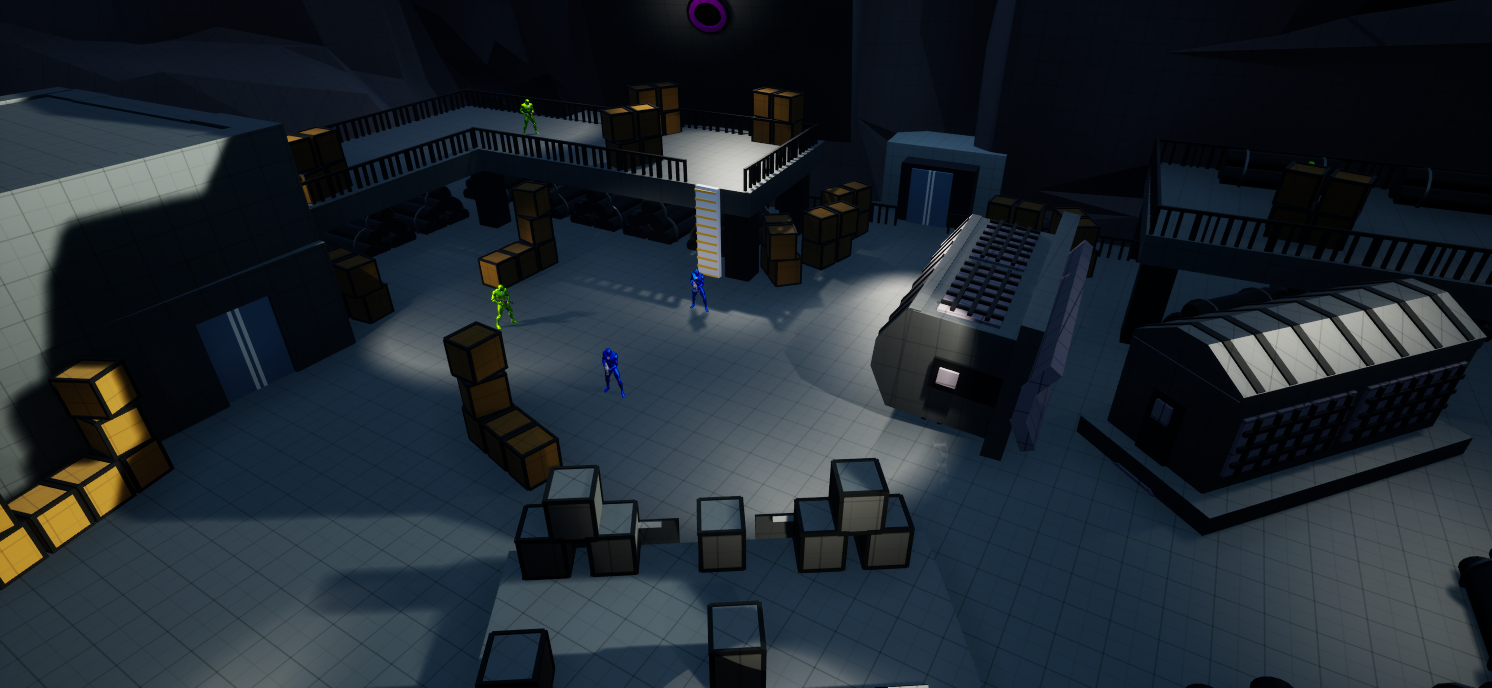
Starting area
Left side of the cave kept coming out to empty leaving a lot of negative space.
Created room for players to exploit grapple point and skip the cave area.
Players were able to double jump over multiple rock walls and bypass sections of the cave.
Before
After
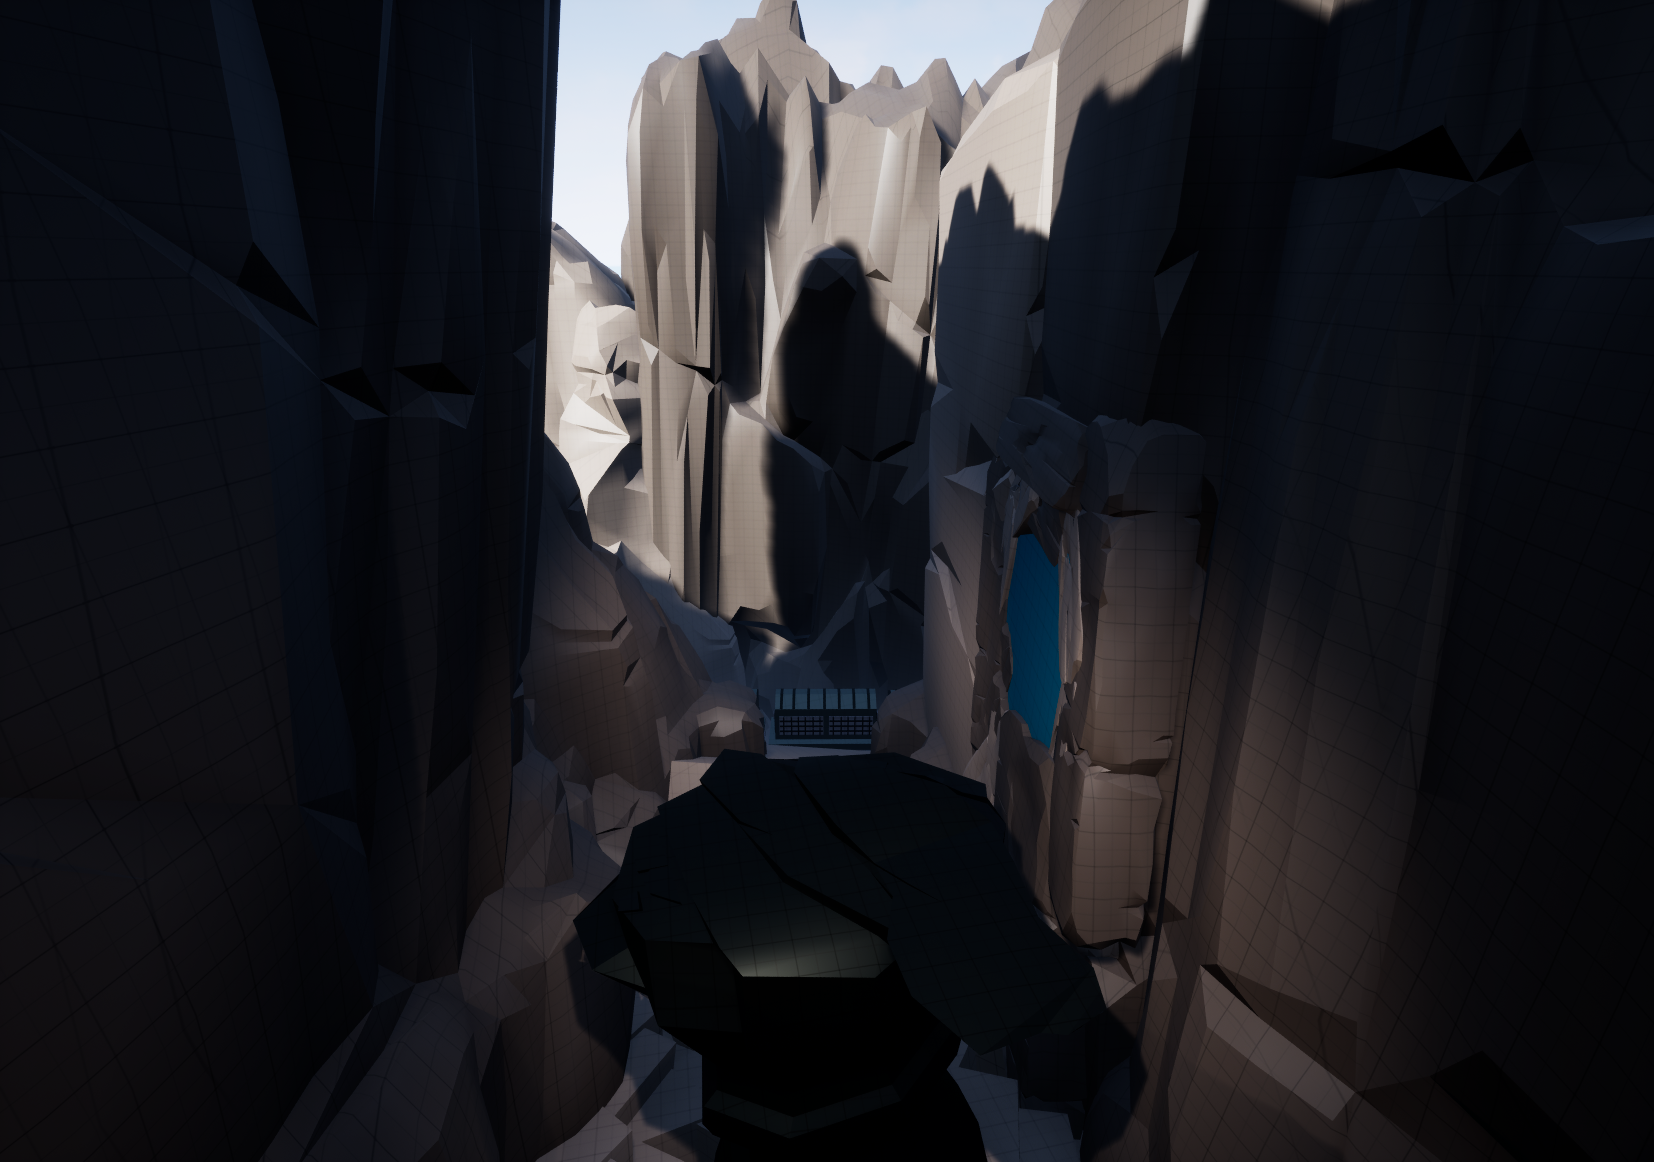
Solved left side exploit by adding a death pit and blocking it off with rocks.
Created room to better block off exploits while still framing and letting the player see the path up.
Players were no longer able to clear the vertical jump over certain rock walls.
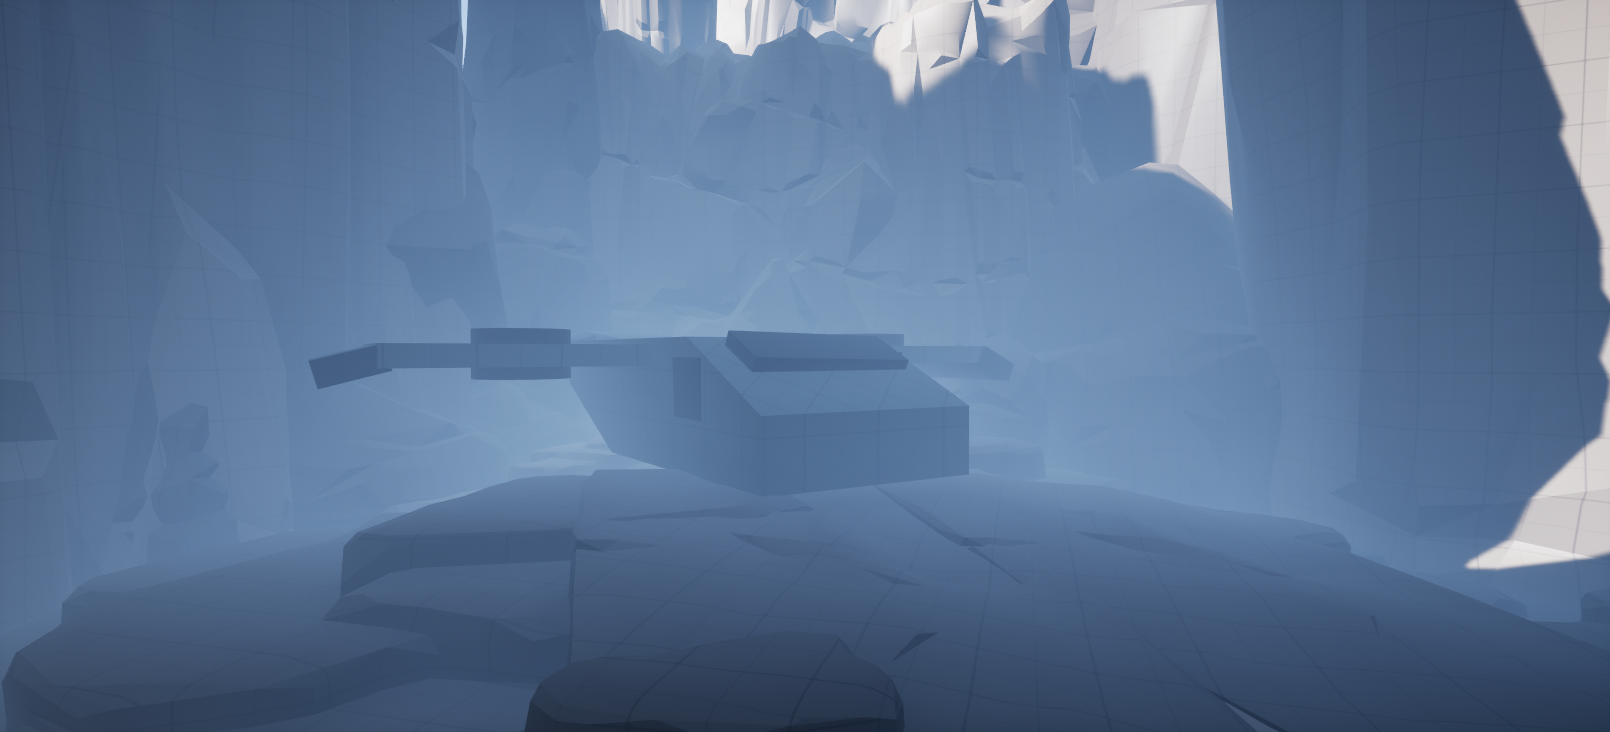
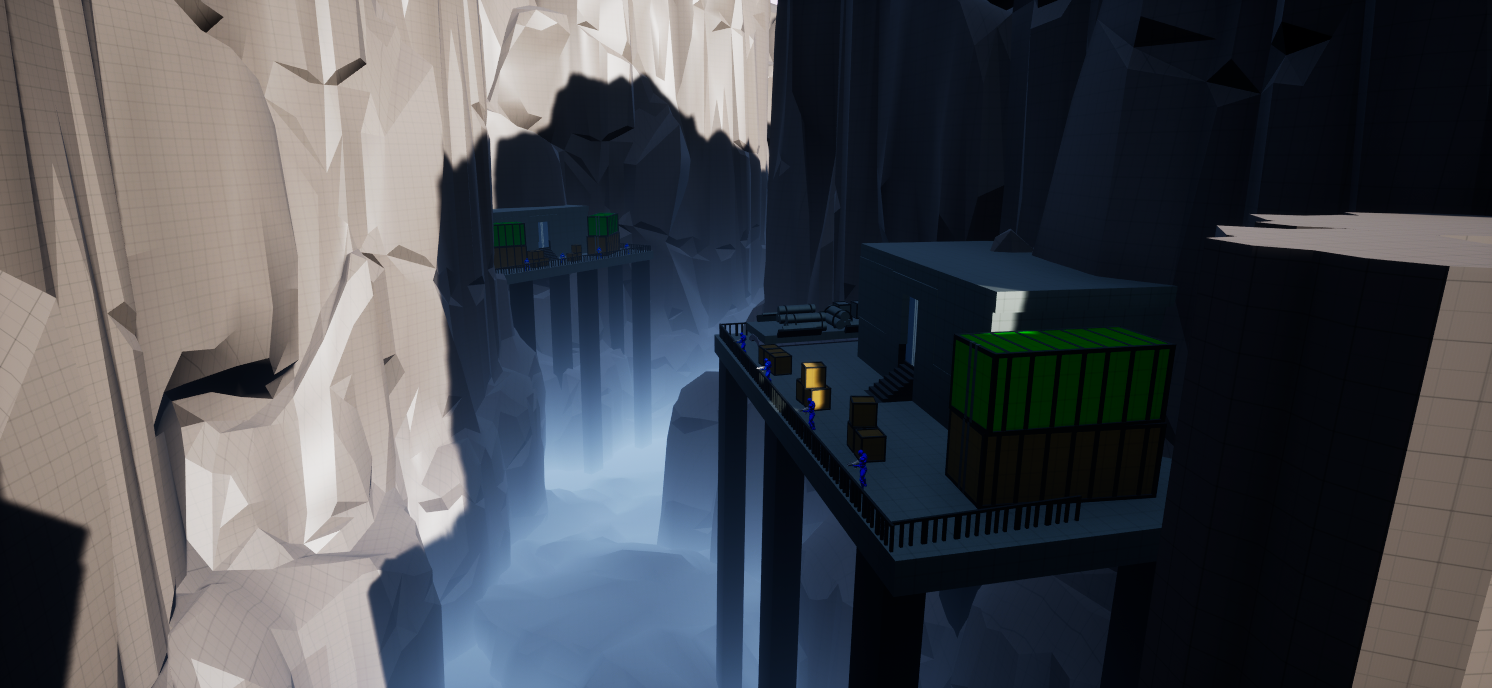
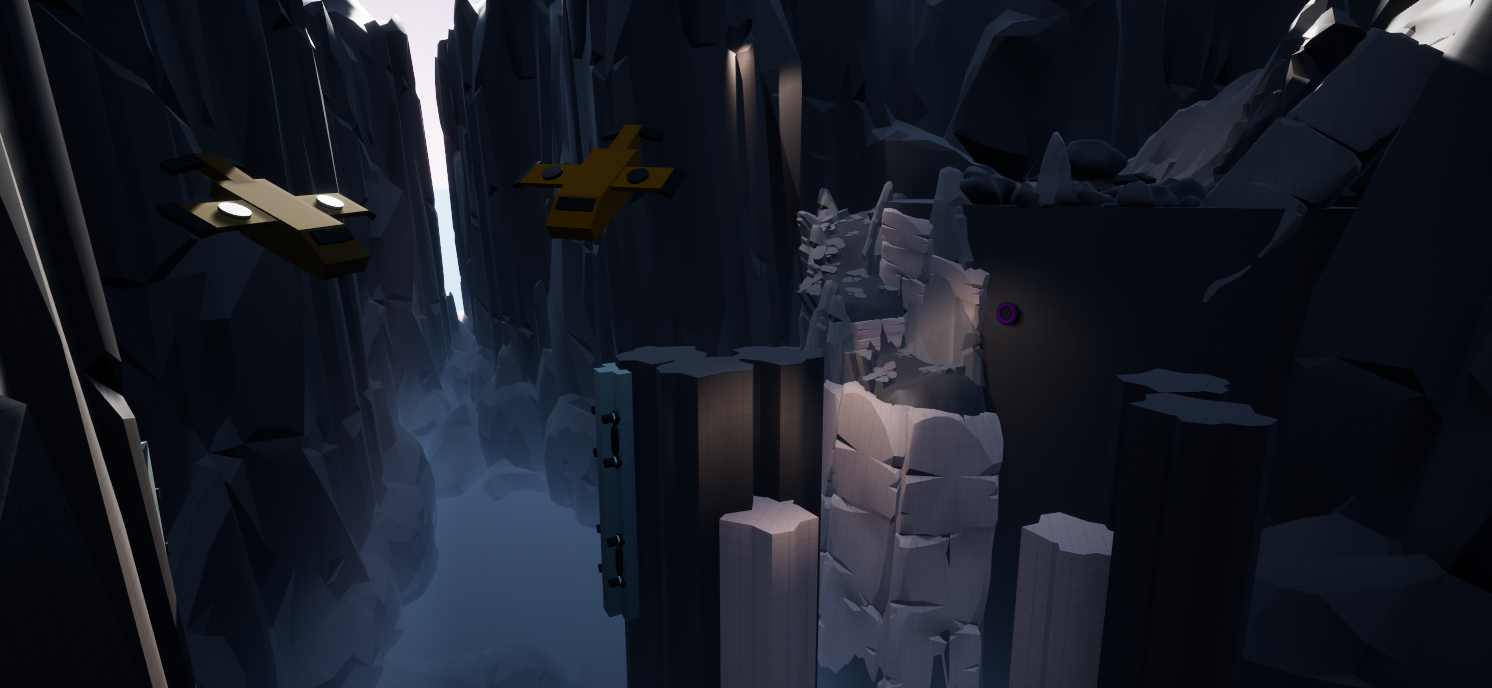
Additions to starting area
Added new area before cave for better start/ build up.
Drop ship shows how the player got to the mountain.
Player now has to scale up to the cave and top of the mountain allowing both areas to act as a tutorial letting the player get familiar with movement and combat.
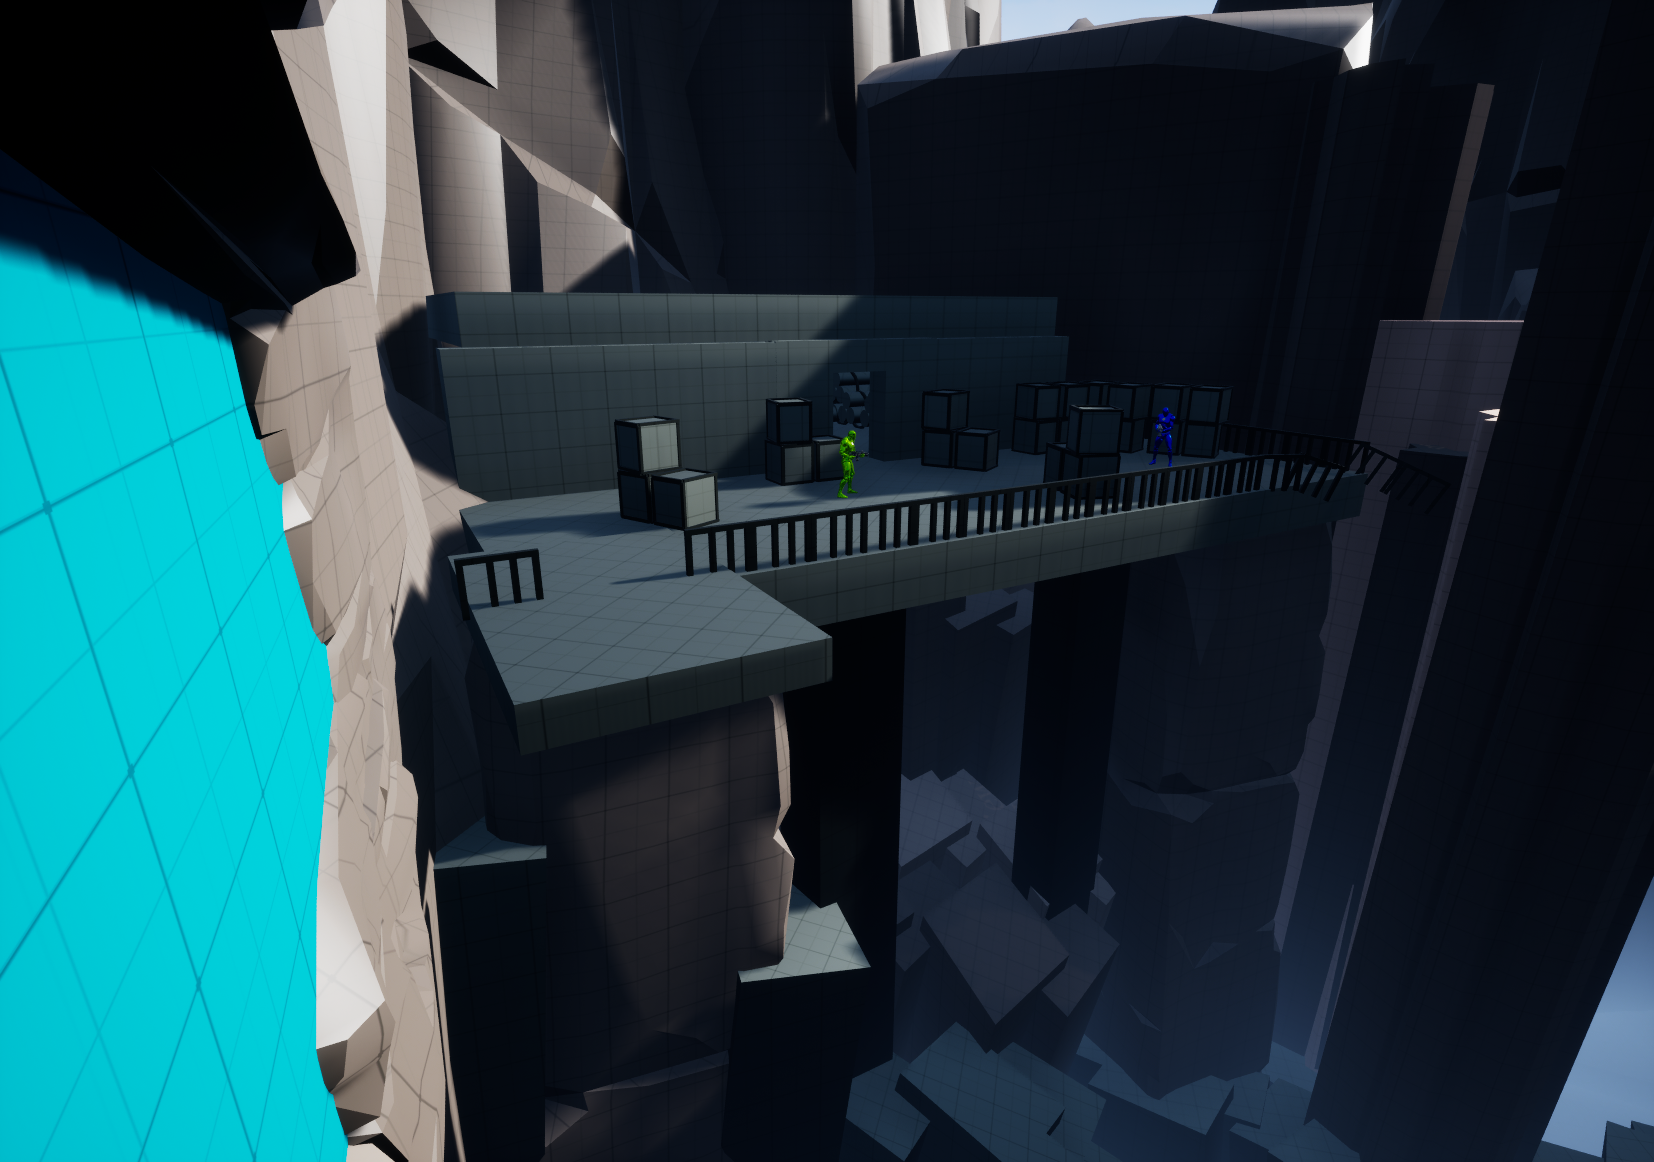
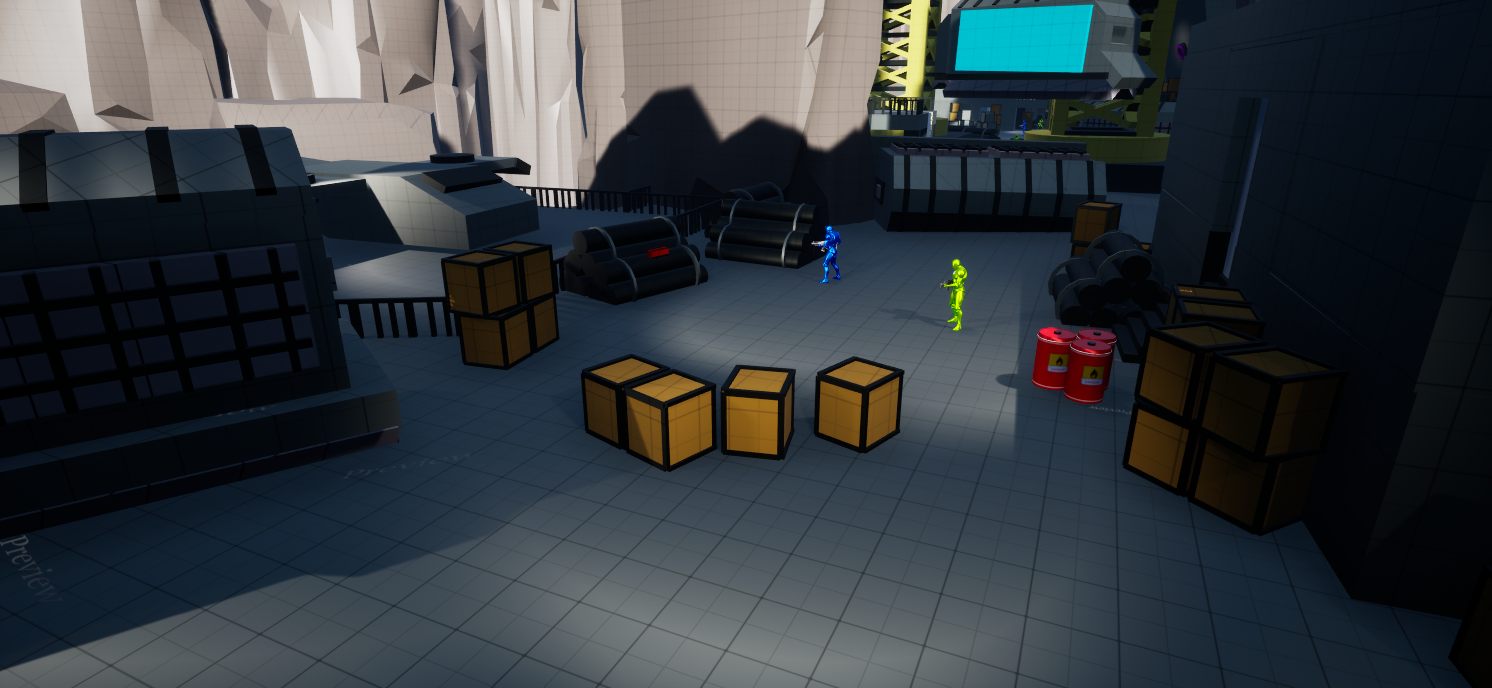
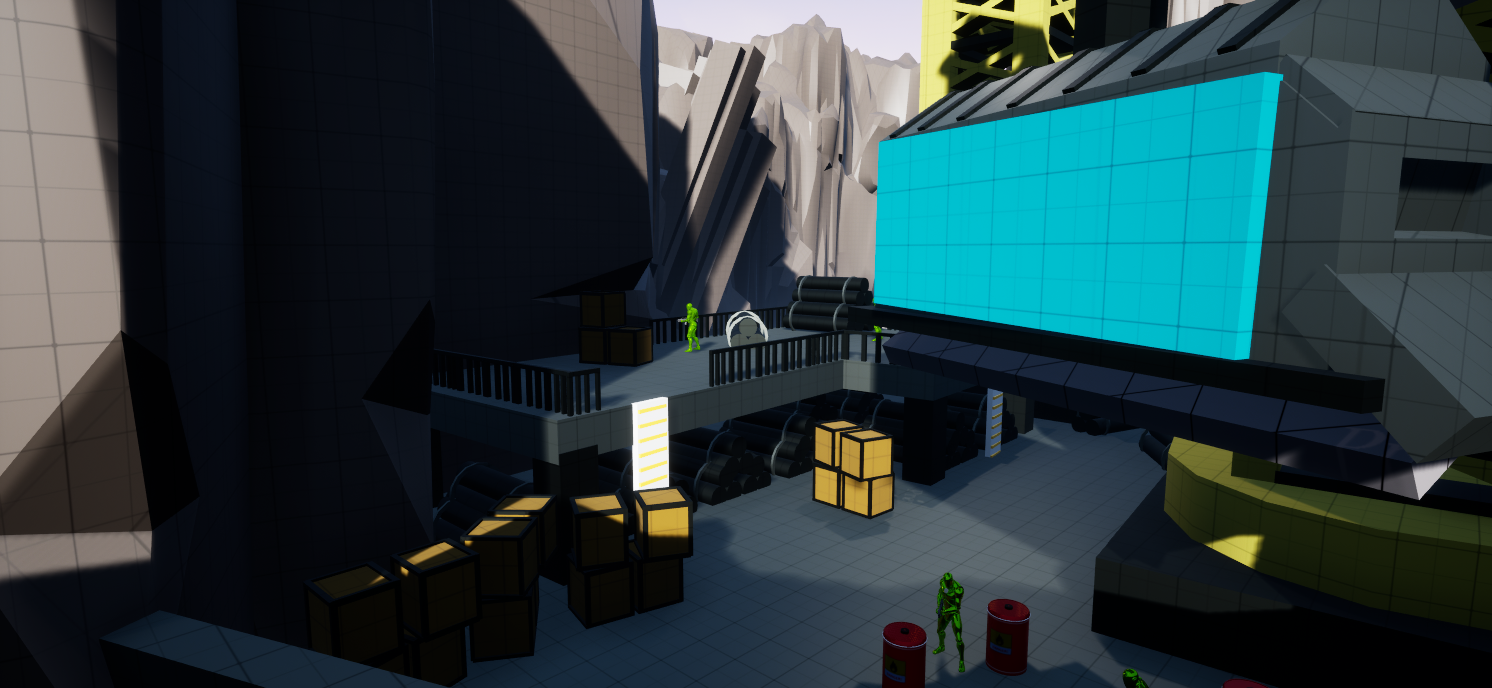
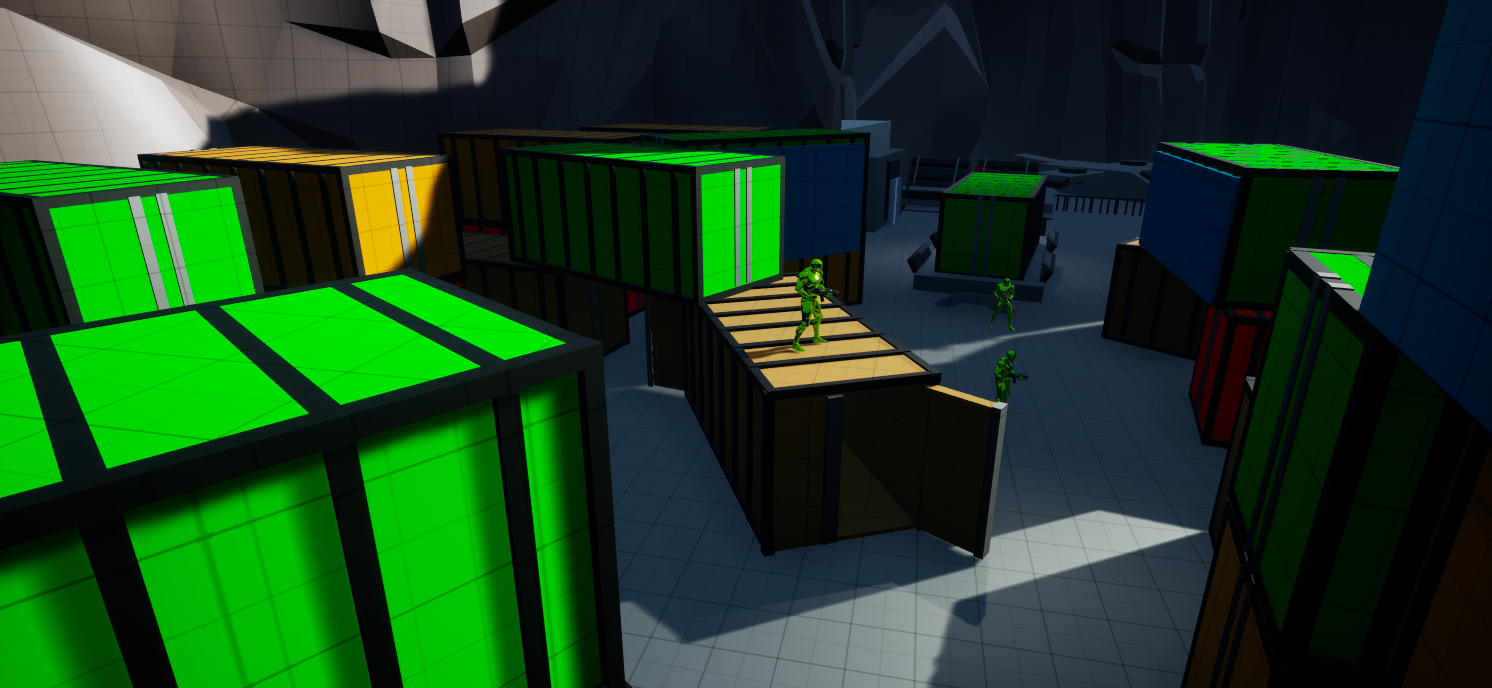
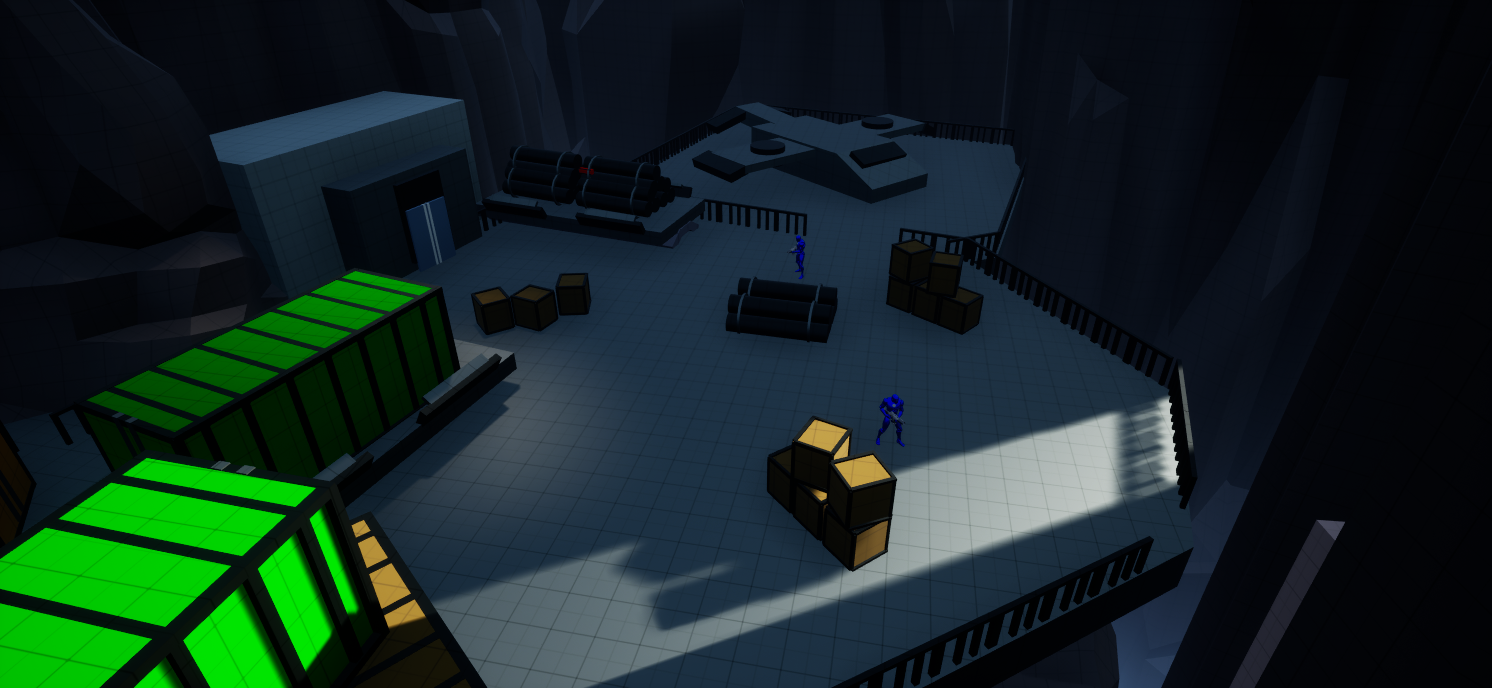
Combat iteration
Mountain outpost Combat Encounter: The initial area was too tight so it was expanded to include movement and gameplay opportunities. Initial area also lacked unique set pieces so the addition of new models like the cranes were put in.
First iteration
Final iteration
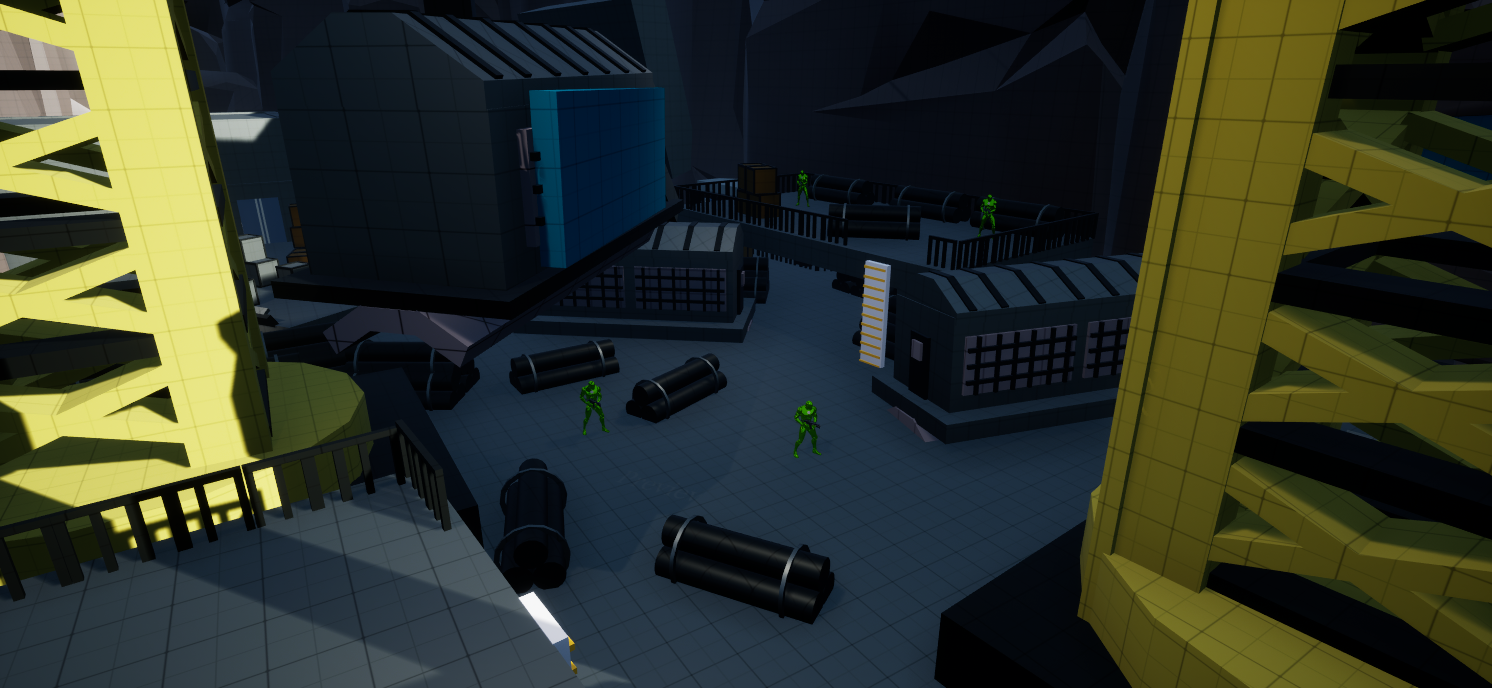
Train gameplay iteration
First iteration
Train sections felt boring.
Created downtime.
Lost all form of movement and combat.
Became “waiting sections” rather than staying dynamic.
No way to force the player off the train.
Cover on the train served no purpose outside of set dressing the train cars.
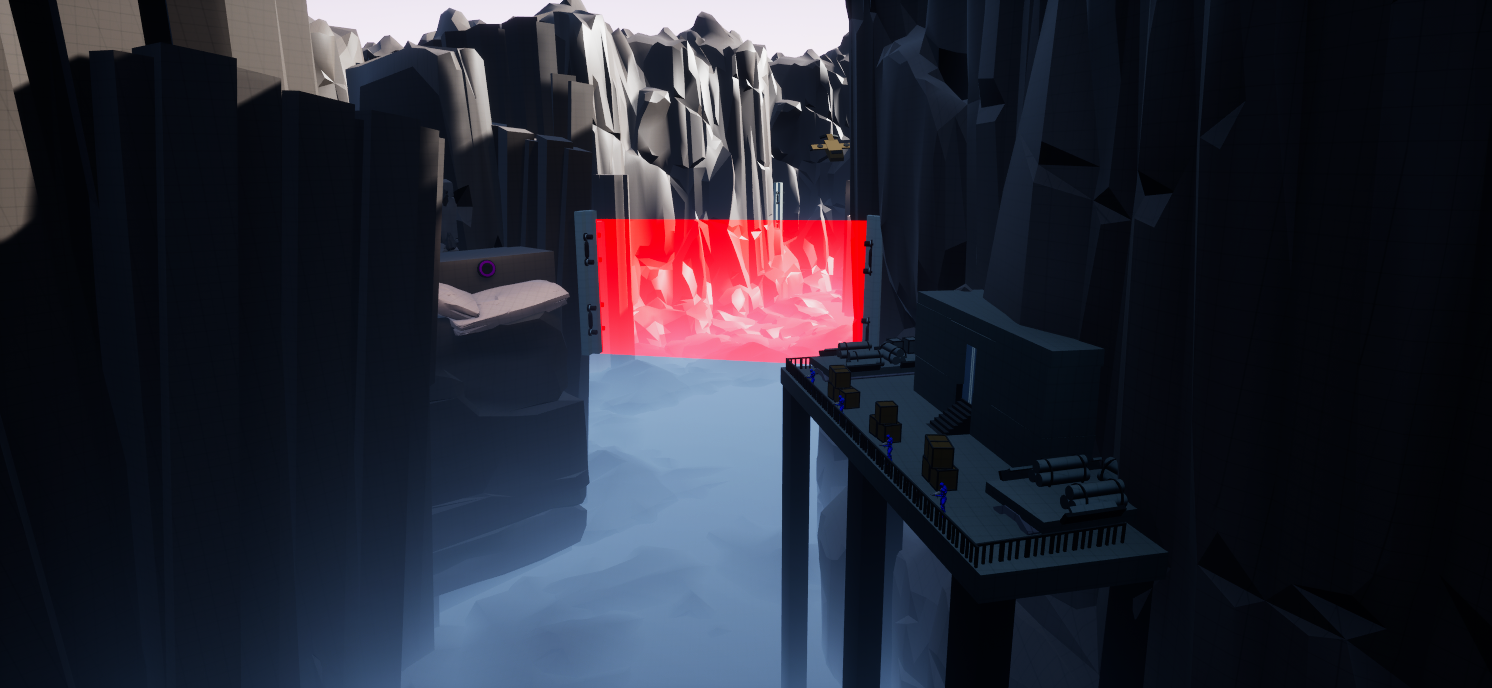
Final iteration
Train sections are more exciting and dynamic.
Eliminated downtime.
Added enemies on the train for combat.
Added enemy platforms on the side of the mountain to shoot at the player for more high tense moments.
Mountain enemies made cover on the train serve a purpose.
Laser gates made to force the player off the train.